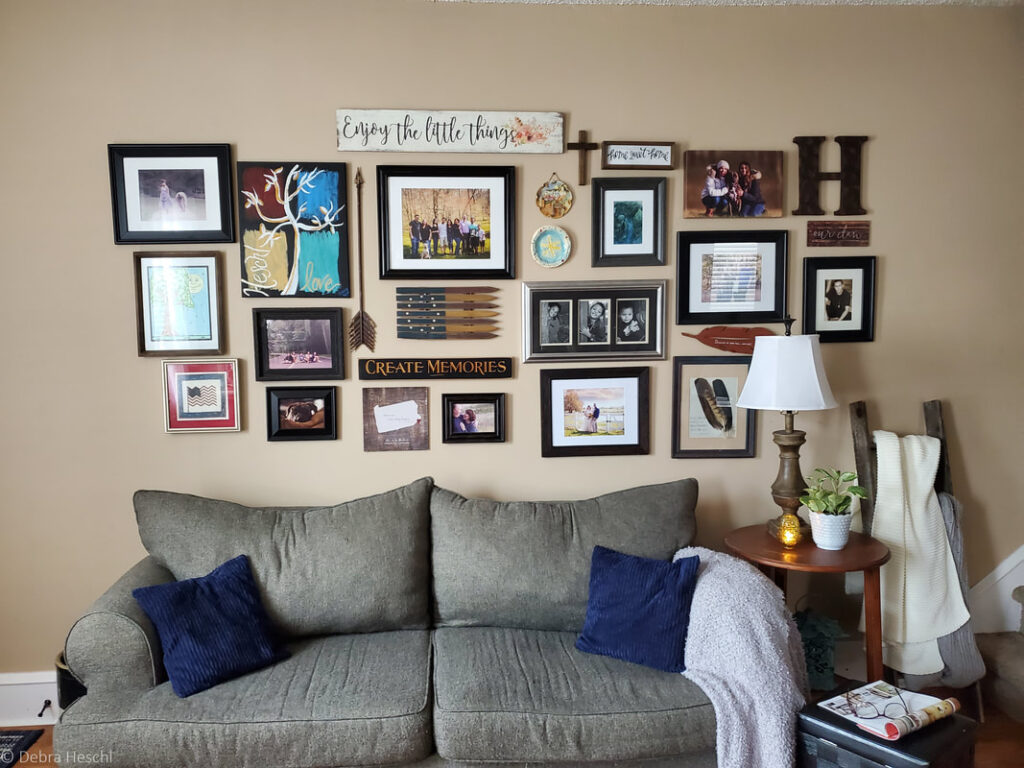
There is something about walking in a home & seeing photos around. It just makes it feel so cozy & inviting.
When we moved into our home, one of the first things we did was start putting all the photos and memorabilia together for Designing a Wall Gallery. Once I had it all together, I started creating a wall gallery to showcase my clan, adding some architectural elements as well.
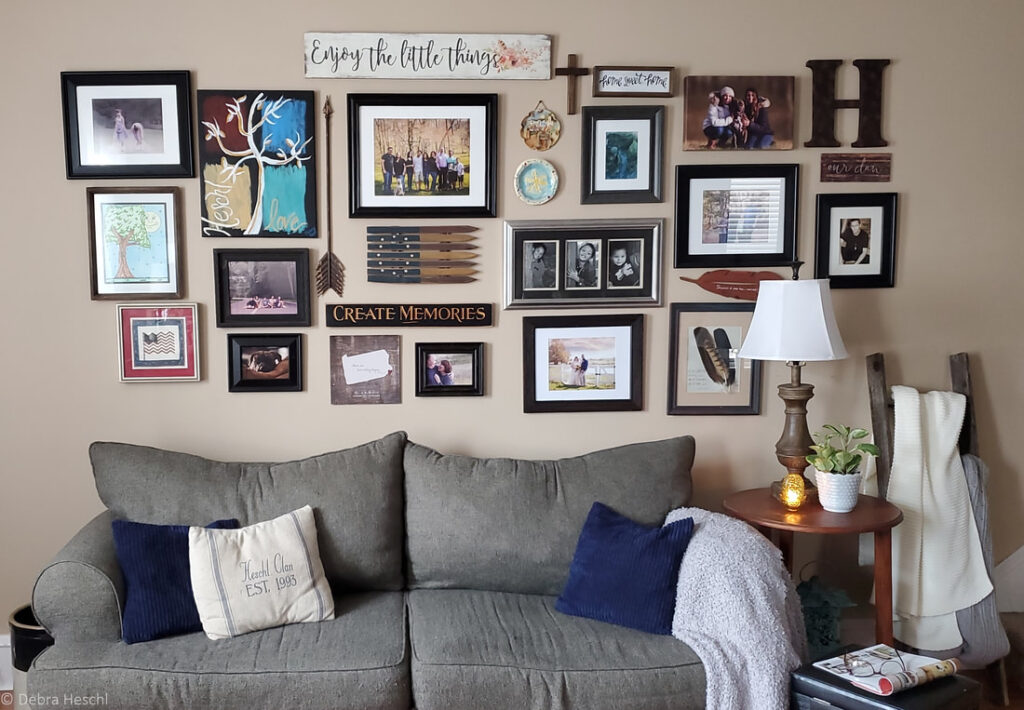
Make a statement when Designing a Wall Gallery
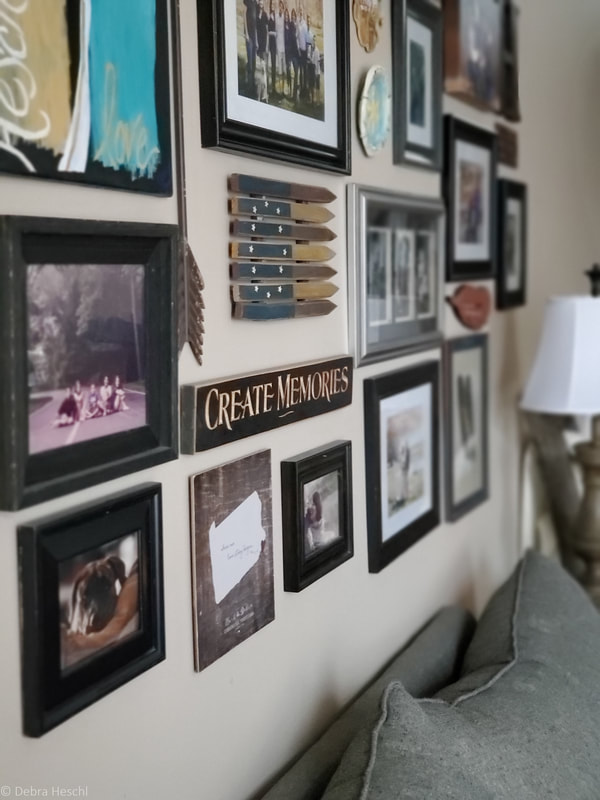
Adding large frames to showcase your photos makes a statement. I personally like 5×7 frames up to 16×20. I add a mixture of sizes, and in between, I add some memorabilia. It can be an art piece or an antique that you love. Display what brings you joy! If you don’t like what you see, that’s okay. Take a few days to ponder it and rework it until your heart is content.
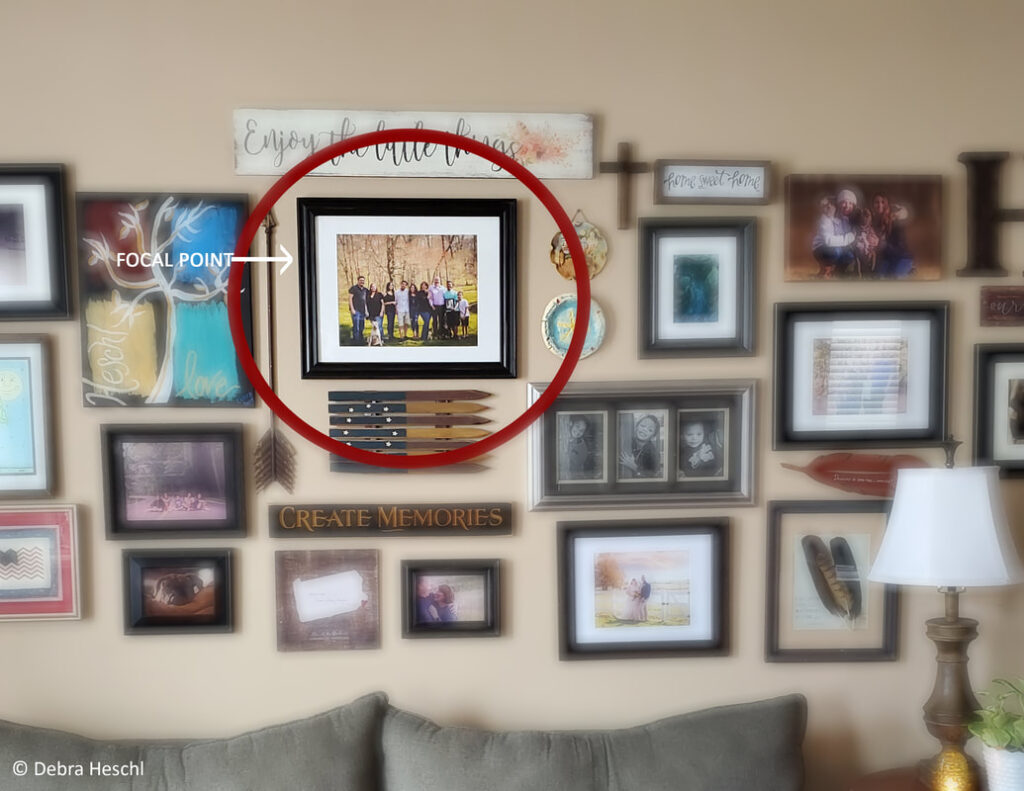
I got my wall gallery started by starting with the focal point.
This is where I added a large photo of my clan. From there, you place the photos and/or memorabilia around that focal point, spreading out to your desired length and width. I chose to go beyond the length of my couch. Then, add around the top and bottom.
Note: Too many small frames can make it look cluttered. I recommend limiting yourself to a few if you want to add smaller frames.
Some people have also used the layout method. You can find examples on Pinterest. Lay the photos on the floor as you would like them placed on the walls. I have done several wall galleries in my time, and just adding them to the wall was easy for me. I had a vision of how I wanted it to look and achieved it.
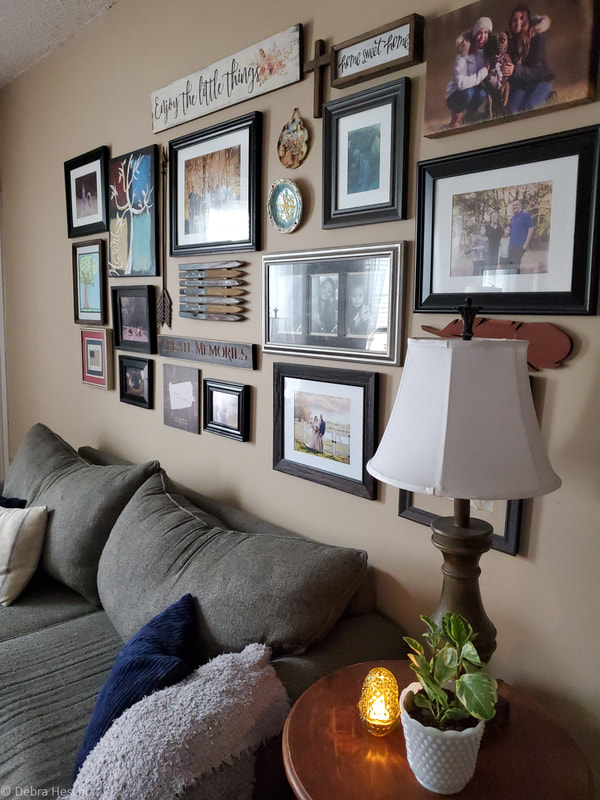
For the mounting hardware
Depending on the type of wall you want in your gallery depends on what hardware you need to use. Our 135-year-old house has the original stone walls. This can make it tricky to hang frames, especially heavy ones. We had to use masonry screws. For lighter frames & art, we also used velcro command strips. Although, I do not recommend using any command strips over your bed.
Here’s a trick to keep your frames straight!
Add a little sticky tack to the bottom of the frame. Before you tackle a wall gallery project, check to make sure you know what type of hardware you need first for your wall type.
Tools needed
Drill
Mallet
Leveler
Screws
Command strips (optional)
Feeling inspired? Check out Pinterest for some amazing wall galleries!
Have fun creating!
 If you want to follow along on our home restoration/renovation plans and all of our exciting antique & thrift finds, be sure to check out Linen and Wildflowers on Facebook, Instagram, and Pinterest! And don’t forget to sign up for our newsletter to receive updates.