Is Your Sourdough Starter Ready for Baking-6 Easy Signs
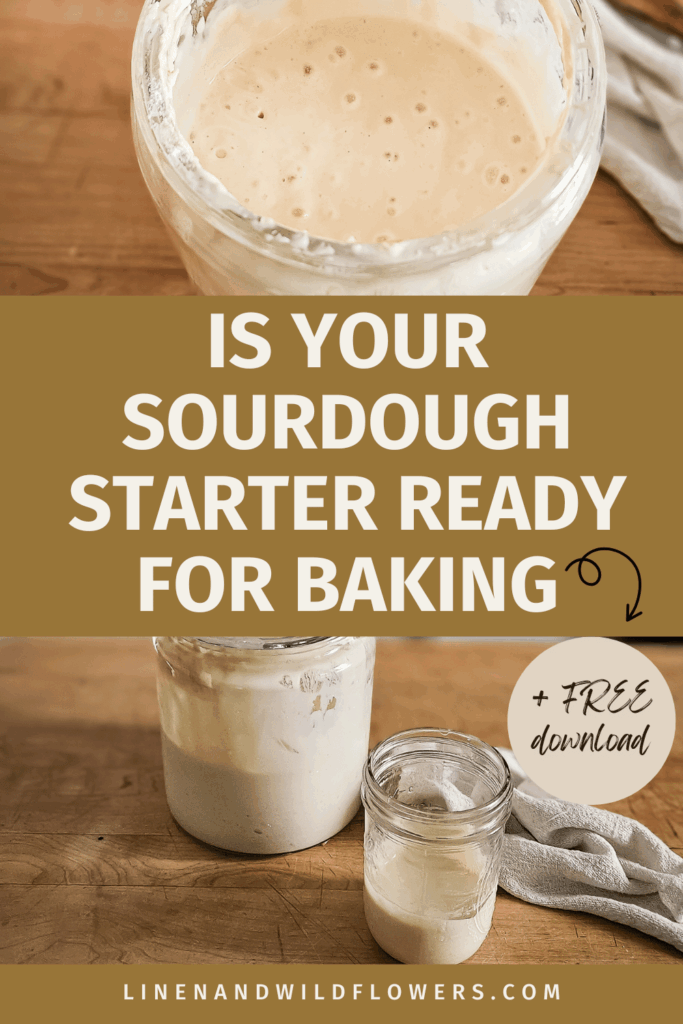
Knowing when your sourdough starter is ready to bake with is the key to achieving that perfect rise, open crumb, and tangy flavor.
Whether you’re new to sourdough or looking to fine-tune your process, understanding the signs of a mature, active starter will take your homemade bread to the next level.
In this post, you’ll learn how to tell if your sourdough starter is ready for baking, what signs to look for, and tips to keep it healthy and reliable.
Looking for delicious dessert recipes? Try my recipe for The Best Homemade Banana Chocolate Chip Muffins, or Sourdough Discard Banana Bread
.
As an Amazon Associate, I earn from qualifying purchases, and this post contains affiliate links to products I love ♥ See my full disclaimer here!

- Knowing when your sourdough starter is ready to bake with is the key to achieving that perfect rise, open crumb, and tangy flavor.
- What Is a Sourdough Starter?
- Why It's Important to Bake with a Mature Starter
- 6 Signs Your Sourdough Starter Is Ready to Bake
- Tools I Use to Keep My Starter Healthy
- Common Mistakes to Avoid
- Feeding Schedule Tips for Baking Success
- Example Feeding Timelines
- Morning Bake Schedule
- Evening Bake Schedule
- Quick Rule of Thumb
- Free Printable: Sourdough Feeding Timelines
- FAQs: Sourdough Starter Readiness
- Final Thoughts…
- Here are some recommended posts that may Fancy your interest!
- Homemaking Made Easy: 5 Days to a Cozy & Organized Home
What Is a Sourdough Starter?
A sourdough starter is a natural leavening agent made from flour and water that captures wild yeast and beneficial bacteria from the environment.
Over time, with regular feedings, your starter becomes active enough to ferment and raise bread without the need for commercial yeast.
Why It’s Important to Bake with a Mature Starter
Baking with a starter that’s not ready can result in dense loaves, poor oven spring, and flat flavor. An active starter ensures:
6 Signs Your Sourdough Starter Is Ready to Bake
It Doubles in Size Within 4–6 Hours
This is one of the most reliable indicators. After feeding your starter, place a rubber band or marker on the jar to track its growth. If it doubles or triples in volume within 4 to 6 hours, it’s active and ready.
It Passes the Float Test
Scoop a small spoonful of your starter and gently drop it into a glass of water. If it floats, it’s airy and full of gas—perfect for baking. If it sinks, it may still be too sluggish.
Note: The float test isn’t foolproof, don’t rely on this alone.
It’s Consistently Fed
If you’ve been feeding your starter regularly (once or twice a day, or weekly if refrigerated), and you see consistent rising behavior, it’s a sign of a healthy microbial balance.
It Smells Pleasantly Tangy
A ready starter should smell slightly sweet, tangy, and yeasty. If it smells like acetone or rotten, it may be overfermented or need refreshing.
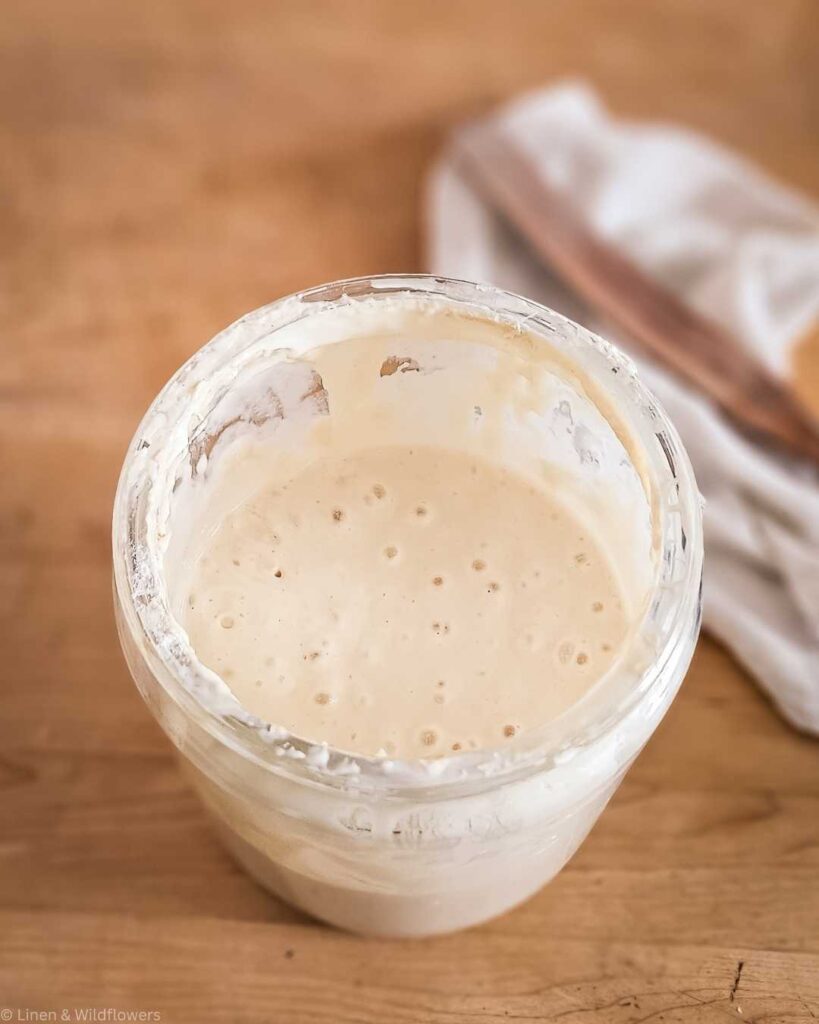
It Has a Bubbly, Spongy Texture
Look for a bubbly surface and a spongy interior when you stir it. These bubbles indicate fermentation is actively happening.
It Performs Well in a Trial Bake
Still unsure? Do a test bake with a simple recipe like pancakes, waffles, or discard crackers. If the result is light and airy, your starter is likely ready for a full loaf.
Quick Tip: Next time you feed your starter, mark the jar with a rubber band or tape and set a timer. Track how long it takes to double in size—you’ll start spotting the signs of readiness with more confidence each time.
Tools I Use to Keep My Starter Healthy
Curious what I use to maintain my sourdough starter? These are my go-to tools that make the process simple and consistent:
Common Mistakes to Avoid
Love sourdough tips like this? Subscribe to my newsletter for more real-life baking advice, recipes, and kitchen stories!
Feeding Schedule Tips for Baking Success
Timing is everything when it comes to sourdough baking. Your starter needs to be at its peak activity—when it’s bubbly, doubled in size, and full of energy—to give your dough the best rise. Here are a few simple tips to keep your feeding schedule aligned with baking day:
Pro Tip: Once you understand your starter’s rhythm, you can easily plan feedings around your baking schedule. Consistency is the key to predictable, delicious loaves.
Feed the night before
If you plan to bake in the morning, give your starter a feeding the night before and let it sit at room temperature. By the time you wake up, it should be active and ready to use.
Plan around the peak
Most starters reach peak activity 4–8 hours after feeding, depending on temperature and flour type. Try to mix your dough while the starter is at this stage for the strongest fermentation.
Use a rubber band marker
Mark the level of your starter jar after feeding. When it has doubled or tripled in height, that’s your baking window.
Don’t wait too long
If your starter peaks and then collapses, it’s past its prime. While it can still be used, your bread may not rise as well.
Example Feeding Timelines
Morning Bake Schedule
9:00 PM (night before): Feed your starter
7:00 AM: Starter should be doubled and bubbly
8:00 AM: Mix your dough while starter is at peak activity
Evening Bake Schedule
7:00-8:00 AM: Feed your starter
1:00–3:00 PM: Starter reaches peak activity
3:00 PM: Mix dough in the afternoon, bulk ferment, and bake in the evening
Quick Rule of Thumb
~Plan to use your starter 4–8 hours after feeding(depending on your room temperature and flour type).
~If it has doubled or tripled and passes the float test—it’s ready!
Free Printable: Sourdough Feeding Timelines
Want to keep your starter on track without second-guessing? Download my free Sourdough Feeding Timelines printable and always know the best time to bake. Post it on your fridge or tuck it in your recipe binder for quick reference.
FAQs: Sourdough Starter Readiness
Most starters take 7–14 days to become reliably active, although this timeframe can vary depending on factors such as temperature, flour type, and feeding schedule.
If it’s rising well, smells good, and looks bubbly, you might still get good results—even if it fails the float test.
It may need warmer temps or more frequent feedings. Try placing it in a warmer spot and feed it at regular intervals.
Here are some recommended posts that may Fancy your interest!


Know someone starting their sourdough journey? Share this post with them—it might save their next loaf!”
Final Thoughts…
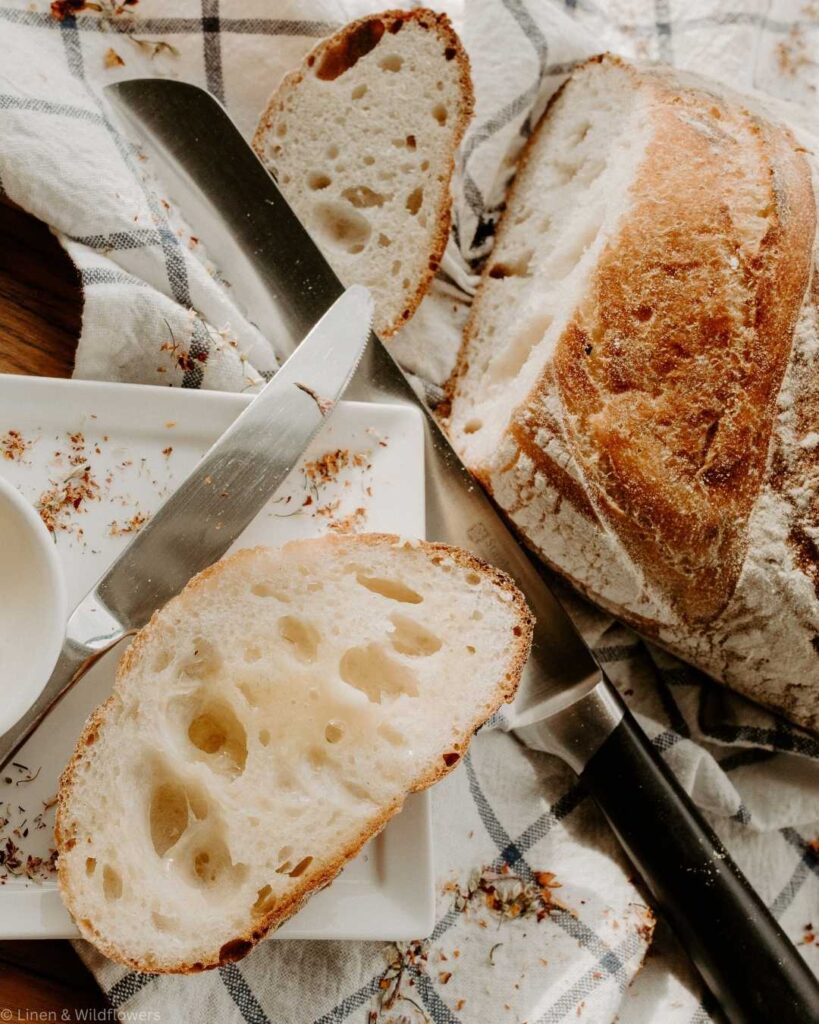
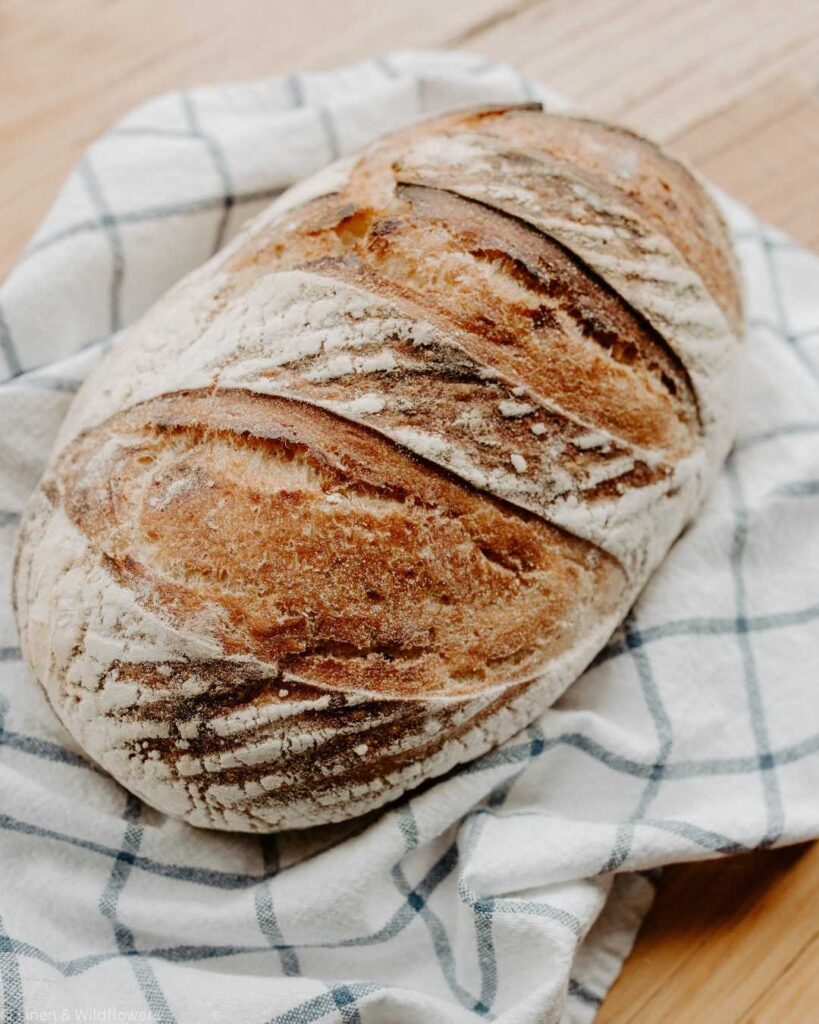
Learning how to tell when your sourdough starter is ready takes observation and a bit of patience. Look for a consistent rise, a pleasant aroma, and an airy texture. Once you see those signs, you’re well on your way to baking beautiful, delicious sourdough bread.
Did your starter pass the float test? Or do you rely on another method to know it’s ready? Have you baked with your starter yet? What signs do you look for before baking?
I’d love to hear how you know when your sourdough starter is good to go. Share your tips or questions in the comments below! Let’s talk all things sourdough.

Homemaking Made Easy: 5 Days to a Cozy & Organized Home
This FREE course is for anyone who wants to create a warm, welcoming space, without the overwhelm. Whether you’re just starting out or need a reset, this 5-day journey will walk you through simple steps to make your home feel more peaceful, functional, and you.
It includes:
- Daily Email Lessons
- Printable Freebies
- Easy-to-Follow Tasks
By the end of the 5 days, you’ll feel more at peace, in control, and inspired in your home.