As an Amazon Associate, I earn from qualifying purchases, and this post contains affiliate links to products I love ♥ See my full disclaimer here!
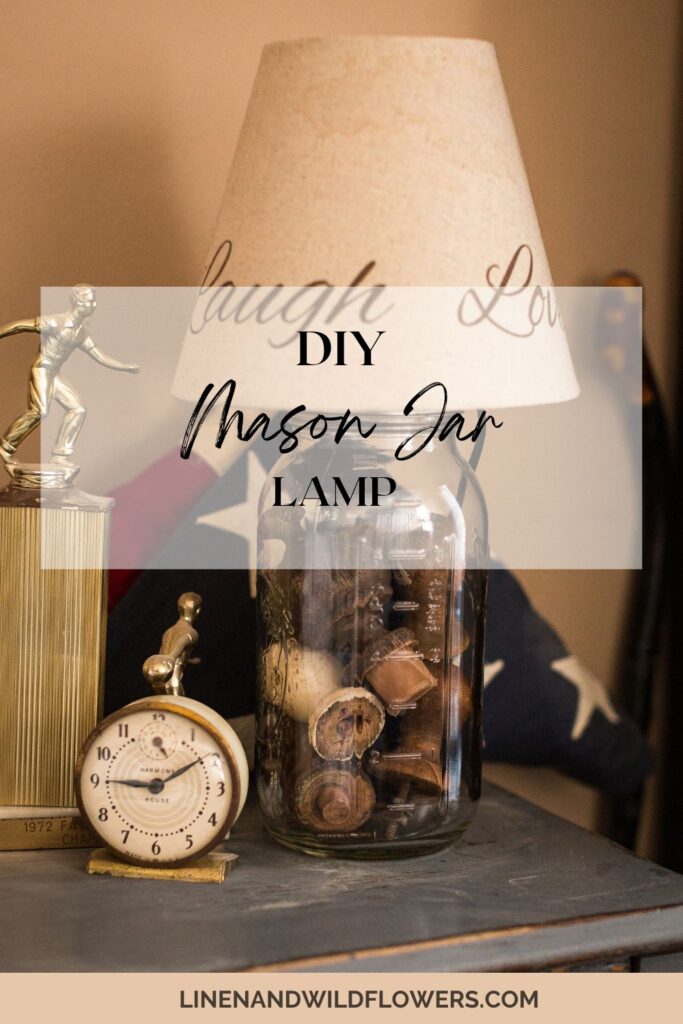
This easy DIY Mason Jar Lamp is so cute & inexpensive to make. With just a few accessories, you can have the perfect table lamp for any space in your home.
By now, you know I have an obsession with mason jars. Not only are they used for canning, and they are also versatile in the kitchen. But did you know they also make gorgeous mason jar lights? In this post, I will share step-by-step instructions on making your very own DIY Mason Jar Lamp that will look amazing in any space in your home.
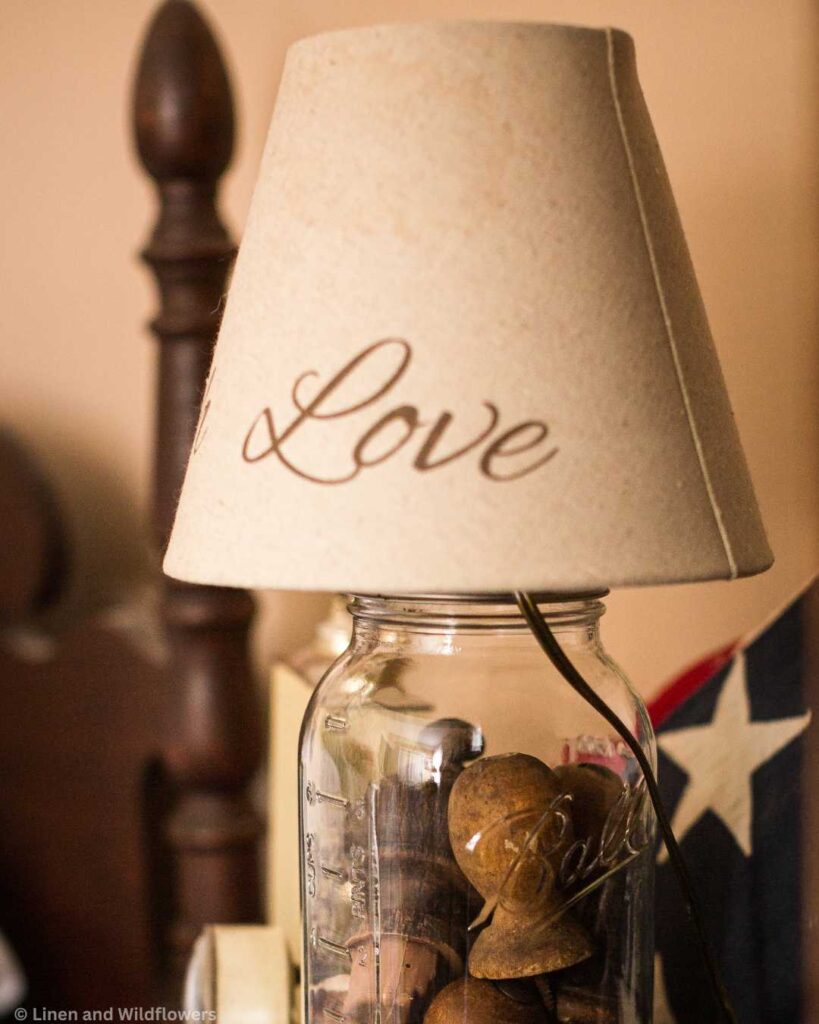
Lamps can be costly, and when I was trying to find a specific style lamp for the guestroom, I wasn’t having any luck, even in the thrift stores. So I got creative and realized I could make one.

The lamp I currently use for the guestroom, also known as my youngest grandson’s room, for when he visits, doesn’t work well. So, I have been looking for the perfect bedside table lamp. It dawned on me! I remember the mason jar lamp I made a few years ago that would look great in the space, but I then remembered I gave it to my daughter-in-law. So, therefore, I decided to create a new one.
Mason Jar lamps make perfect table lamps!
Whether you use a half-gallon or a One-Quart jar, this is a simple DIY project.
It makes an instant decorative piece for your home decor!
What I love about the DIY Mason Jar Lamps is that it is a great way to add a lamp to the space and a great decorative item.
Don’t have a half-gallon jar? No problem!
You can use a 1-quart mason jar as long as it has a regular mouth opening for your lamp kit. If you choose to use a wide-mouth jar, you will need to drill a hole into the seal or purchase the lamp kit to fit the wide-mouth opening of the Jar.
Supplies needed for a Mason Jar Lamp.
- Choose the size of the Jar you want to use. A Half-Gallon or One-Quart size Mason Jar is best for this DIY Lamp.
- Lamp or Light Kit. Make sure to get a lamp kit with a bottom cap with a side outlet.
- Choose your Filler—Ex: Pinecones, sea shells &, etc.
- Burlap Shade (Size Used for a half-gallon jar:: 5″ top diameter x 9″ bottom diameter x 7 1/4″ high OR 8″ W x 12″ L x 9.5″ H)
- Add a Light Bulb
Supplies you may need:
- Screwdriver
- Drill
- Lubricating Oil
- Carbide Bit
Before hitting the hardware store for your supplies, check your local thrift store. You will be surprised to find used mason jars for half the cost. Most times, I can get a canning jar for about a buck, whereas, for a new jar, it’s about five dollars for a new one.
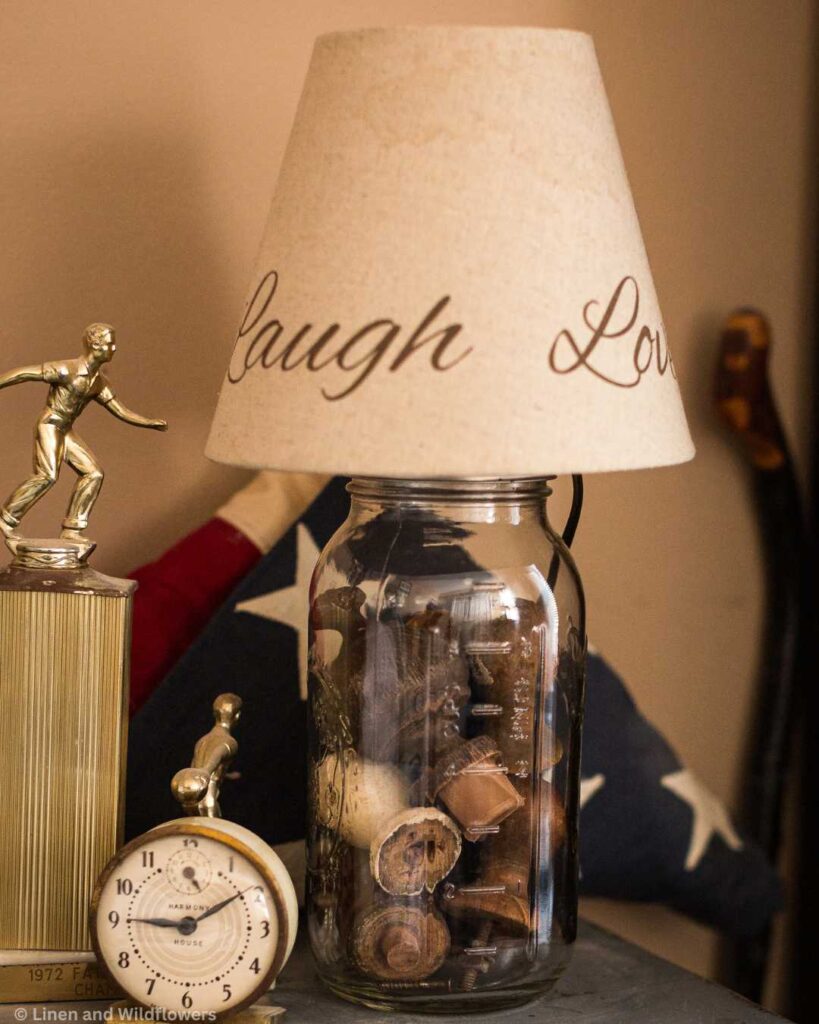
Before you jump into purchasing the lamp kit, I want to tell you that I purchased a kit that needs to be wired and connected. The lamp kit I used at the bottom of this post can be found. Please know how to connect the wiring to the socket before attempting to do it yourself. With this DIY Mason Jar Lamp, my husband will assist me in this project.
Step by Step Instructions for Making a DIY Mason Jar Lamp
First, I want to say that I am using a regular light kit that has to be assembled. You can surely purchase a mason jar kit for about $10 and, attach it to the mason jar & call it a day. However, I had a light kit I had previously purchased for another lamp I would fix. I will link both light kits at the bottom of the post, and you can decide which one you want. But hey, you may already have an extra light kit lying around in your tool shed.
- The first step is to gather your supplies to make your glass jar lamp.
- Place your filler into the bottom of the Jar.
- Screw a hole into the center of the mason jar lid (Skip if you purchased a mason jar kit).
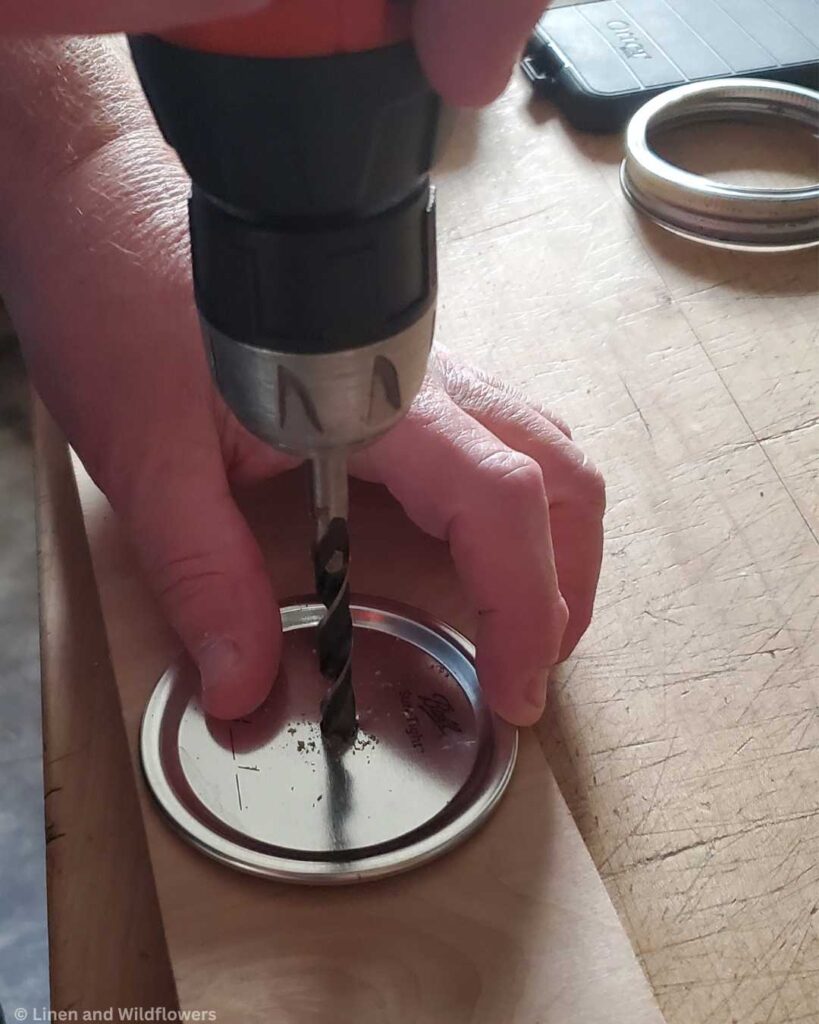
Next, drill a hole in the center of the top. Again, you will need to use a Forstner bit, and make sure you go slowly with a piece of wood underneath. The lid is flimsy, so it is best to clamp a piece of wood on each side, so the lid doesn’t tear or bend.
- Remove the jar lamp kit from the packaging. Assemble all the pieces.
- Take the socket & attach the electrical wiring and connect the wires. (Please seek an electrician if you do not know what you are doing).
- Align the socket to the mason jar lid;
- Screw the connecting brass nut & lock washer onto the lid to secure the light socket.
- Place the fitted jar seal with a socket on the Jar, add the jar ring on top of the Jar and tighten.
- Add a three-way light bulb
- Put on the lampshade.
- You now have a mason jar table lamp ready to display in your home.
Tip: If you want to have the lampshade screw on the top, use a harp.
Can a hole be drilled in the glass for the wire?
If you want to add a hole into a mason jar to feed the wiring through, follow these steps to make a hole. Drilling a hole in glass can be done with a regular electric drill if the correct drill bit is used. The key to drilling glass is to use material harder than the glass itself. You must drill a starter hole at the marked point to prevent glass damage.
- Place the point of the drill at the center of the marked point on the glass.
- Pour a few drops of lubricating oil into the area around the drill tip and glass.
- Beginning at low speed with medium pressure with a carbide bit made especially for glass and tile, drill a small starter hole into the glass.
Filler Ideas for the mason jar lamp
Another great idea is to remove the Lid adapter to put your filler in the Jar to give it an authentic look!
- Sea Shells
- Potpourri
- Birch Sticks
- Wine Corks
- Pebbles
- Pinecones
- Pennies
- Fairy Lights
- Thread Spools
- Beads
- Matchbox Cars
- Coffee Beans
- Buttons
- Acorns
- Christmas Ornaments
- Collectible items such as finials that I used for this DIY mason jar lamp
Want to add flare to your DIY mason jar lights?
- Paint the inside of the Jar your favorite color. Allow drying for 24 hours before assembling your Mason Jar Lamp.
- Give it a Mercury Glass Look. Spray the inside of the Jar with mirror-effect spray paint, turning it into a mercury glass lamp.
- Create a Moss Terrarium.
- Get creative & paint a design on your Jar to personalize it to fit your personal decor style.
Can you use a mason jar as a light fixture?
This is an easy way to re-purpose and recycle old mason jars. Turning them into a light fixture is one of the easy ways to create. You can also use jars to make a pendant light, table lamps, an outdoor mason jar chandelier, and a DIY mason jar night light!
How much does it cost to make a mason jar lamp?
It can be anywhere from $10-$15. However, adding more details, such as painting the Jar, finials, and harp, or changing out the switch knob, can add more expense.
Does it take a long time to make a mason jar lamp?
Depending on the light kit and if you are painting the Jar, it only takes about 10 minutes. If you are painting the Jar, you will have to allow time to completely dry before assembling the lamp.
Add a bit more Fancy!
With this lamp, I Took it to the next level by adding a bit more character to the lamp. It is not necessary, but you can add a harp to raise the shade a bit, then add a decorative finial to the harp. Another thing I did was changed out the light knob switch to a Metal Key Switch Handle for a decorative look. I love how it looks in the space, and it was exactly what I envisioned for the guestroom while keeping in with my budget.
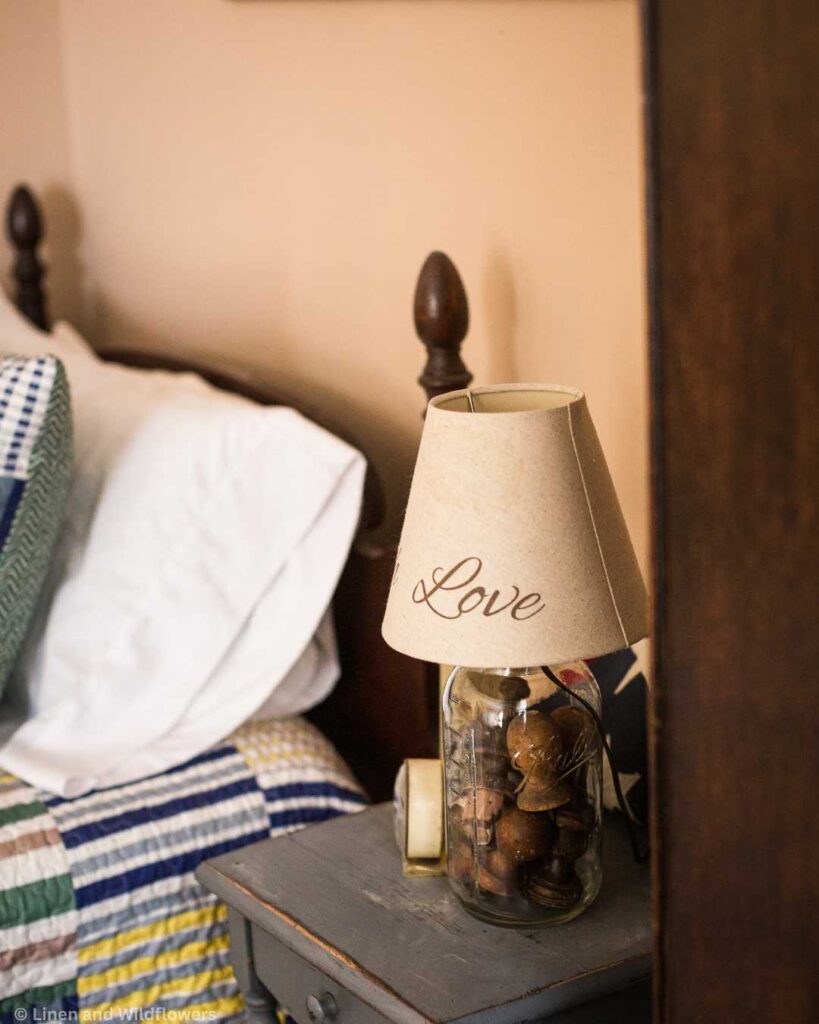
I am so thrilled about how this lamp came out; it looks darling in this space! But now I want to make another one, maybe for my kitchen or laundry room! lol
Making this DIY Mason Jar Lamp was so much fun, and I hope this inspires you to make one for your home. Leave a comment below, and let me know if you are also making one!
 If you want to follow along on our home restoration/renovation plans and all of our exciting antique & thrift finds, be sure to check out Linen and Wildflowers on Facebook, Instagram, and Pinterest! And don’t forget to sign up for our newsletter to receive updates.
Shop this Post!


