How to Make Homemade Beeswax Candles (Simple DIY Guide)
If you love cozy, natural home fragrances and DIY projects, you’ll love making homemade beeswax candles. These candles burn cleanly, have a faint honey scent, and add a warm glow to any space. They’re also a healthier, more sustainable alternative to store-bought candles, which often contain synthetic wax and fragrances.
This guide covers how to make beeswax candles at home, the best scents to use, and pro tips to help your candles look and burn beautifully.
Looking for easy DIY projects? Try my adorable crafts for Snowman Handprint Christmas Ball with Printable Tag or this idea for How to Make Dried fruit for Christmas ornaments.

- Why Make Homemade Beeswax Candles?
- Recipe Ingredients
- Cost Breakdown: Are Homemade Beeswax Candles Worth It?
- How to Make Homemade Beeswax Candles Step-by-Step
- Best Essential Oils for Beeswax Candles
- Pro Tips for Perfect Homemade Beeswax Candles
- Candle Care & Safety Tips
- Benefits of Beeswax vs. Soy or Paraffin FAQ: Homemade Beeswax Candles
- Frequently Asked Questions (FAQ)
- More Recipes You'll Fancy!
- How to Make Homemade Beeswax Candles (Simple DIY Guide)
- Love Vintage Style?
Why Make Homemade Beeswax Candles?
There are plenty of reasons to make your own candles at home:
Recipe Ingredients
You’ll need the following ingredients to make this homemade beeswax candles:

Cost Breakdown: Are Homemade Beeswax Candles Worth It?
One of the best aspects of making your own candles is that they can be very affordable in the long run. A homemade beeswax candle typically costs around $3–5 per jar when you buy wax and wicks in bulk.
In comparison, similar natural beeswax candles from stores or boutiques can range anywhere from $15 to $25 each. While there’s a small upfront investment for supplies, you’ll save money over time, plus, you can customize the scent, size, and container to your liking.
Not only is this DIY project budget-friendly, but it’s also a rewarding and sustainable craft that pays off with every candle you light.
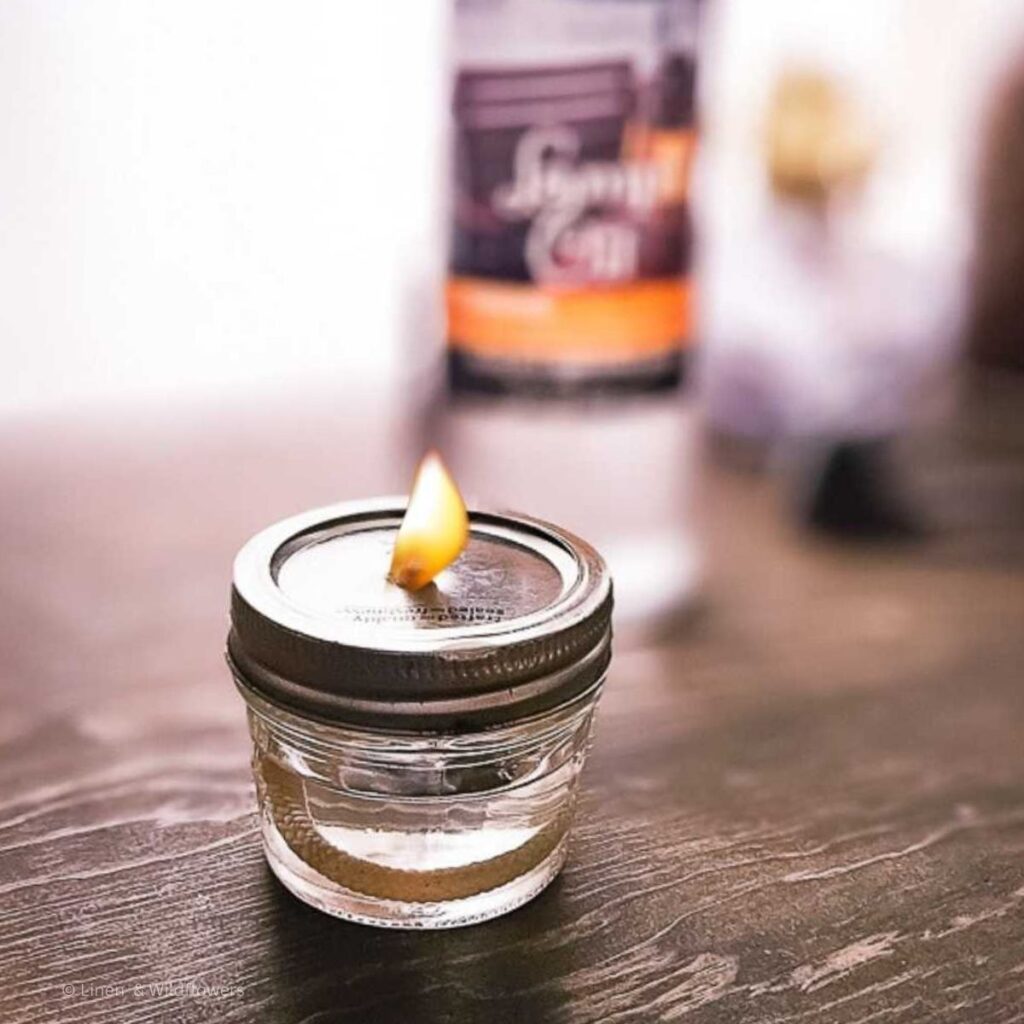
How to Make Homemade Beeswax Candles Step-by-Step
Here are quick visual instructions for making Homemade Beeswax Candles step-by-step. Please note that the full instructions are included in the printable recipe card below.
- Use a double boiler to slowly melt the beeswax. Stir occasionally.
- Center your wick in the jar


- When the wax is melted and cooled, add your favorite essential oils for a light scent.
- Pour the melted wax into containers
- Let candles cool completely, then trim the wick before lighting.


Scented oils are optional, but a few drops will add your desired fragrance. I enjoy linen, cotton, ocean breeze, and vanilla. There are endless scent options.
Best Essential Oils for Beeswax Candles
Beeswax already has a lovely, subtle honey aroma, so you’ll want to choose essential oils that blend well with it. Try:
Lavender
Calming and timeless — perfect for relaxation.
Rosemary & Lemon
Fresh and clean — a lovely combo for bathrooms or workspaces.
Sweet Orange
Bright and cheerful, great for kitchens or morning routines.
Cedarwood
Earthy and grounding, pairs beautifully with beeswax’s natural scent.
Pro Tips for Perfect Homemade Beeswax Candles
- Add Coconut Oil for Better Burn: Mix in 1 tablespoon of coconut oil per pound of beeswax to help prevent tunneling and ensure an even melt pool.
- Warm Your Containers: Preheat your jars slightly before pouring to prevent cracking or sinkholes as the wax cools.
- Cure Before Lighting: Let your candles rest for 24–48 hours before burning to allow the scent and wax to set properly.
Candle Care & Safety Tips
- Always trim the wick to ¼ inch before lighting.
- Don’t burn candles longer than 4 hours at a time.
- Keep away from drafts and flammable items.
- Use a heat-resistant surface under candles.
Benefits of Beeswax vs. Soy or Paraffin FAQ: Homemade Beeswax Candles
Frequently Asked Questions (FAQ)
Tunneling occurs when the wick is too small or the initial burn is too brief. Burn long enough for the wax to melt to the edges.
Yes! Mixing beeswax with soy wax can enhance scent throw and make the wax easier to work with. A 75/25 blend works well.
Let the wax cool slightly, then wipe it out with a paper towel while it’s still warm. Avoid pouring wax down the sink—it can clog drains.

More Recipes You’ll Fancy!


I hope you love the homemade beeswax candles. If you make it, please be sure to leave a comment and a rating, so I know how you enjoyed making it. Enjoy, Xo

How to Make Homemade Beeswax Candles (Simple DIY Guide)
Materials
- Beeswax pellets or blocks (100% pure beeswax)
- Cotton or hemp wicks
- 2-4 jars Candle jars or molds
- Double boiler or heat-safe pouring pitcher
- Essential oils (optional, for scent)
- Thermometer
- Wooden skewer or pencil (to hold wick in place)
Instructions
- Melt the Wax: Use a double boiler to melt the beeswax slowly. Stir occasionally and heat until the temperature reaches approximately 145°F–150°F (63 °C–65°C).
- Prepare the Wick: Center your wick in the jar and use a skewer or pencil to hold it in place.
- Add Essential Oils (Optional): When the wax is melted and cooled to about 135°F, add 10–20 drops of your favorite essential oils per 8 oz candle for a light scent.
- Pour the Wax: Pour the melted wax into containers, leaving a half-inch space at the top.
- Cool and Trim: Let candles cool completely, then trim the wick to ¼ inch before lighting.
Notes
Pro Tips for Perfect Homemade Beeswax Candles
- Add Coconut Oil for Better Burn: Mix in 1 tablespoon of coconut oil per pound of beeswax to help prevent tunneling and ensure an even melt pool.
- Warm Your Containers: Preheat your jars slightly before pouring to prevent cracking or sinkholes as the wax cools.
- Cure Before Lighting: Let your candles rest for 24–48 hours before burning to allow the scent and wax to set properly.
Candle Care & Safety Tips
- Always trim the wick to ¼ inch before lighting.
- Don’t burn candles longer than 4 hours at a time.
- Keep away from drafts and flammable items.
- Use a heat-resistant surface under candles.
Making DIY beeswax candles is a simple, rewarding, and eco-friendly activity. Each one fills your home with natural warmth and light—plus, it’s a fun project to do alone or with a group. After learning the basics, experiment with scents, wicks, and jars to create candles that match your style.
Love Vintage Style?
Download my free eBook: Decorating with Thrifted & Antique Finds! It’s perfect for keeping in your bag on your next thrift trip!
I love the idea of making my own non toxic candles. Thank you for sharing!
Me too! Have fun making them 🙂