Are you ready to embark on a delightful ice cream adventure that only requires four simple ingredients and a Mason jar? Look no further! In this blog post, I will share a genius hack to create creamy, homemade ice cream using the humble Mason jar. This easy-to-follow recipe guarantees a scrumptious frozen treat that will have your taste buds dancing with joy.
Mason jar ice cream is the epitome of kitchen hacks, offering a simple and ingenious way to create creamy frozen delights. With just a glass jar and a few common ingredients, you can whip up a velvety treat that will delight your taste buds. The combination of heavy whipping cream, vanilla, milk, and sugar transforms into a luscious ice cream base that freezes beautifully. In addition, the glass jar acts as a container and a mixing vessel, making cleanup a breeze. This delightful kitchen hack allows you to indulge in homemade ice cream without needing special equipment or complicated techniques. So grab your Mason jar, gather your ingredients, and prepare to enjoy the sweet satisfaction of a delicious frozen treat right from your kitchen.

Ice cream is my all-time favorite snack to enjoy any time of the day & season, & I mean that literally! Especially if it’s peanut butter ripple! Yum! Creating your own ice cream in a mason jar without an ice cream machine is the best thing ever! Below, I will share a delicious recipe for making your very own Mason Jar Ice cream!
Why Mason Jar Ice Cream?
When it comes to making homemade ice cream, the Mason jar is a game-changer. Its versatility, simplicity, and charming aesthetics make it the perfect vessel for creating individual portions of frozen goodness. Plus, it’s a great way to involve the whole family, allowing everyone to customize their own flavors and mix-ins.

No Special Equipment Required
One of the best things about this Mason jar ice cream hack is that it requires no fancy ice cream maker or specialized equipment. Instead, you can create velvety ice cream with just a few household items without any hassle. You only need a pint-sized Mason jar with a tight-fitting lid, ice cubes, salt, and four key ingredients.
The Magic of Four Ingredients
Imagine whipping up a batch of luscious ice cream using four essential ingredients: heavy cream, whole milk, granulated sugar, and a touch of vanilla extract. This simple yet magical combination produces a velvety smooth base that serves as a canvas for endless flavor possibilities. The best part? You probably have all these ingredients in your kitchen right now!
A Treat for the Whole Family
Whether planning a weekend indulgence or a special occasion dessert, this 4-ingredient Mason jar ice cream recipe is a fantastic choice. It’s a delightful activity that brings the whole family together, allowing everyone to participate in creating their own frozen masterpiece. Kids will love the process, from mixing the ingredients to shaking the jar and witnessing the magical transformation.
Mason jar ice cream is so delicious it will leave you craving more!
Making ice cream in a Mason jar with just four ingredients is a simple and fun process. Here’s a basic recipe to get you started:
Ingredients:
- 1 cup heavy cream (or whipping cream)
- 1 cup whole milk
- 1/2 cup granulated sugar
- 1 teaspoon vanilla extract
You’ll also need the following:
- 1-16 oz Mason jar with a tight-fitting lid
- Ice cubes
- Salt (rock salt or coarse salt works best)
- A larger container or bowl
Instructions:
- Combine the heavy cream, whole milk, granulated sugar, and vanilla extract in a mixing bowl. Stir until the sugar is completely dissolved.
- Pour the mixture into the Mason jar, leaving some headspace at the top to allow for expansion as it freezes. Seal the jar tightly with the lid.
Fill Bowl or Container with Ice Method
This process is another method for allowing the ice cream to freeze faster.
- Place the sealed Mason jar in the larger container or bowl.
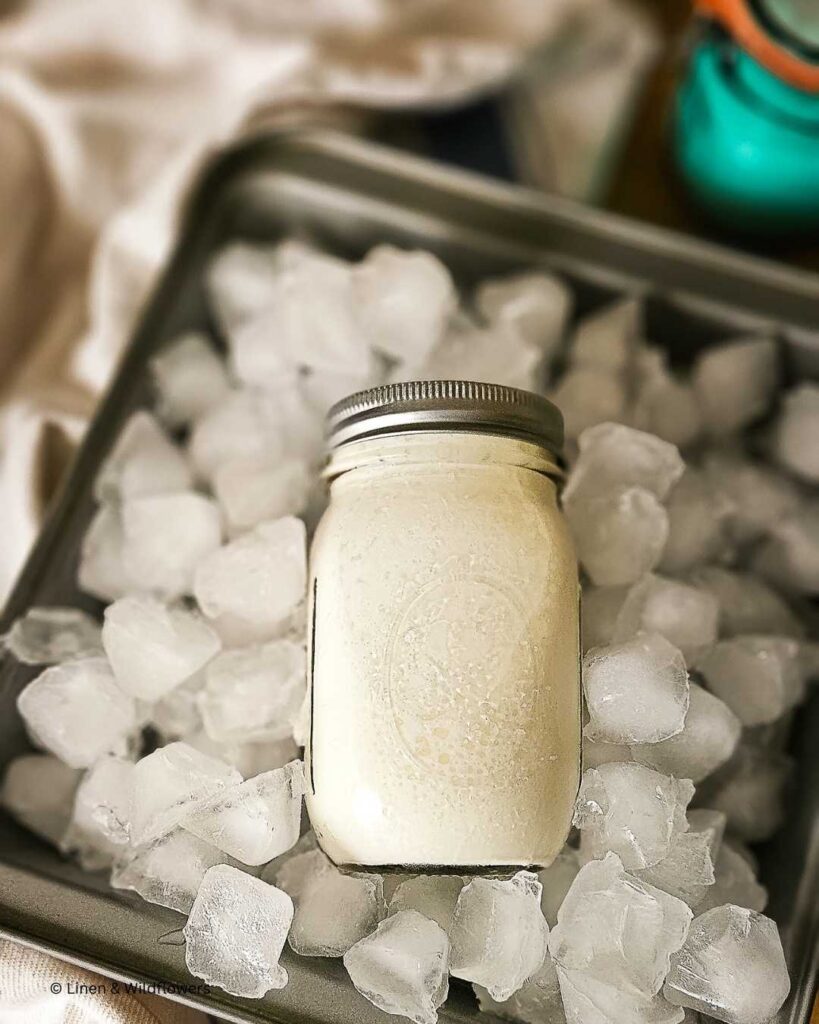
- Fill the larger container or bowl with ice cubes, leaving some space at the top.
- Sprinkle a generous amount of salt over the ice cubes. The salt helps lower the freezing point of the ice, allowing the ice cream to freeze more quickly.
- Gently shake and swirl the container to distribute the salt evenly among the ice cubes.
- Continue adding layers of ice and salt until the ice reaches the top of the Mason jar. Make sure the salted ice mixture surrounds the jar completely.
- Begin shaking and swirling the container. This motion, combined with the salted ice mixture, will lower the temperature inside the Mason jar, causing the ice cream mixture to freeze.

Shake the Container
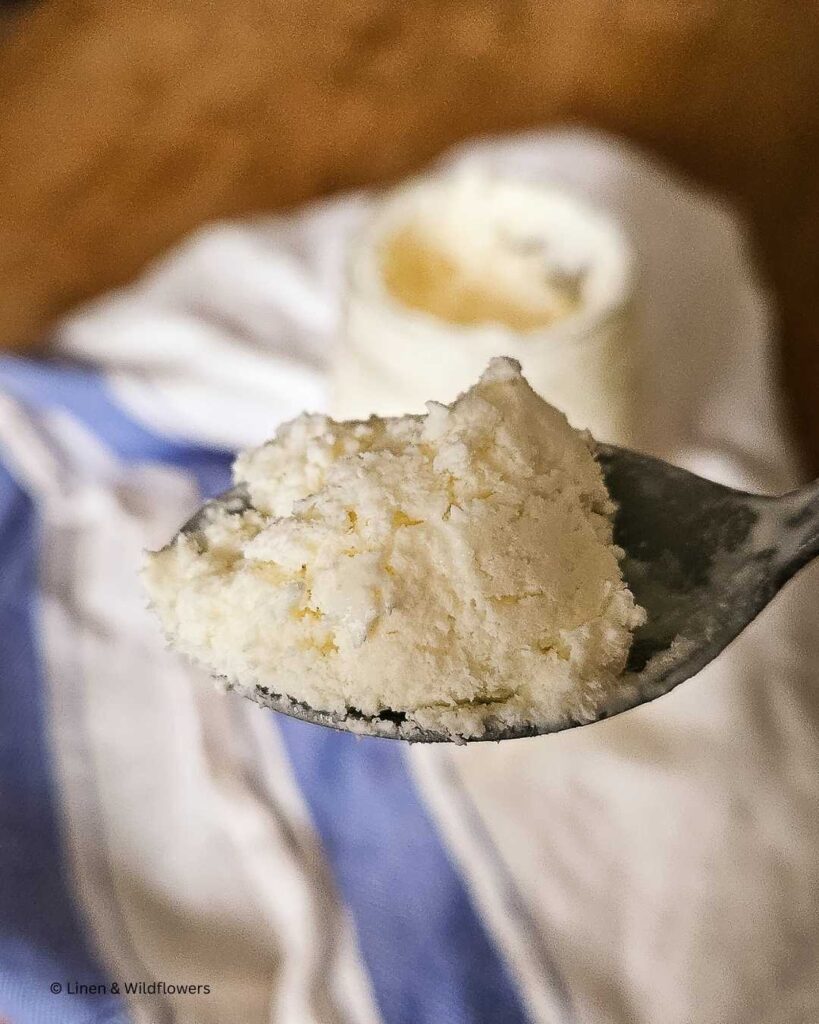
- Keep shaking and swirling the container for about 10-15 minutes or until the ice cream reaches the desired consistency. You can check the progress by carefully opening the jar and stirring the mixture with a spoon.
- Once the ice cream is ready, remove the Mason jar from the ice and wipe off any excess salt. Then, open the jar and enjoy your homemade ice cream!
Remember, this is a basic recipe, and you can experiment with different flavors by adding fruits, chocolate chips, or other mix-ins before freezing. So have fun and enjoy your delicious homemade ice cream!
Tips & Tricks for Making Mason Jar Ice Cream
Making Mason jar ice cream is a fun and delicious activity everyone can enjoy. Here are some tips and tricks to help you achieve the best results:
Use a properly sealed Mason jar
Ensure that the lid of your Mason jar is tightly secured to prevent any leakage or ice crystals from forming inside the jar during the freezing process.

Freeze your Mason jar in advance
Place the empty Mason jar in the freezer for 30 minutes before adding the ice cream mixture. This will help keep the ice cream colder for longer and speed up the freezing process.
Add mix-ins strategically
If you plan to incorporate mix-ins such as chocolate chips, fruit, or nuts, add them towards the end of the freezing process. This will prevent them from sinking to the bottom and distribute them more evenly throughout the ice cream.
Experiment with flavors
Don’t be afraid to get creative with your flavors! You can add extracts like mint or almond, incorporate cocoa powder for a chocolatey twist, or even infuse the cream with herbs like lavender or basil. Let your taste buds guide you and have fun experimenting with different combinations.
Don’t overfill the Mason jar
Leave some headspace in the jar to allow for expansion as the ice cream freezes. Overfilling the jar can lead to difficulty sealing it properly and may result in messy leaks.
Shake gently and consistently: When shaking the Mason jar during the freezing process, do so gently and consistently. This helps distribute the cold temperature evenly and promotes a smooth and creamy texture.
Monitor the consistency
Keep an eye on the texture of your ice cream as you shake the jar. Once it reaches a soft-serve consistency, it’s ready to enjoy. Avoid over-shaking, as it can lead to a grainy texture.
Customize toppings and garnishes: Once you’ve transferred your ice cream to a bowl or serving dish, let your creativity shine with a variety of toppings and garnishes. Sprinkles, crushed cookies, fresh fruit, or a drizzle of caramel or chocolate sauce can take your Mason jar ice cream to the next level.
Share the experience
Making Mason jar ice cream is a wonderful activity to share with friends and family. Let them join in the fun by creating their own flavors or by taking turns shaking the jar. It’s a great way to bond and create lasting memories.

With these tips and tricks, you can embark on a delicious Mason Jar ice cream adventure. Enjoy the process, savor the flavors, and delight in the joy of homemade frozen treats!
Add your favorite ice cream toppings
Here are some variations for creating a delicious treat! Are you looking to elevate your Mason jar ice cream game and explore different ways to enjoy this delightful frozen treat? Look no further! In this section, we’ll delve into some exciting variations that will take your homemade ice cream recipes to the next level. So get ready to tantalize your taste buds with creative flavor combinations and irresistible toppings. Let’s dive in!
Graham Cracker Crunch
Add a delightful crunch to your Mason jar ice cream by incorporating crushed graham crackers. Simply layer the ice cream mixture with a sprinkle of crushed graham crackers as you fill the jar. The result? A delectable combination of creamy sweetness and a satisfying, toasty crunch in every bite.
Decadent Chocolate Sauce
Indulge your chocolate cravings by drizzling a generous amount of chocolate sauce over your Mason jar ice cream. Whether it’s rich and velvety hot fudge or a luscious homemade chocolate ganache, the combination of creamy ice cream and silky chocolate will create a taste sensation that’s hard to resist.
Flavor Explosion
Experiment with unique flavor combinations to create a one-of-a-kind ice cream experience. Mix in fresh fruits, such as diced strawberries or ripe peaches, for a burst of natural sweetness. Or try incorporating spices like cinnamon or nutmeg for a warm and aromatic twist. Don’t be afraid to let your imagination run wild and explore the endless possibilities!
Peanut Butter Heaven
If you’re a fan of the classic peanut butter and ice cream combo, this variation is for you. Swirl smooth or chunky peanut butter into your Mason jar ice cream mixture before freezing. As you enjoy your frozen delight, you’ll encounter pockets of creamy peanut butter goodness that add an extra dimension of flavor and texture.
Toppings Galore
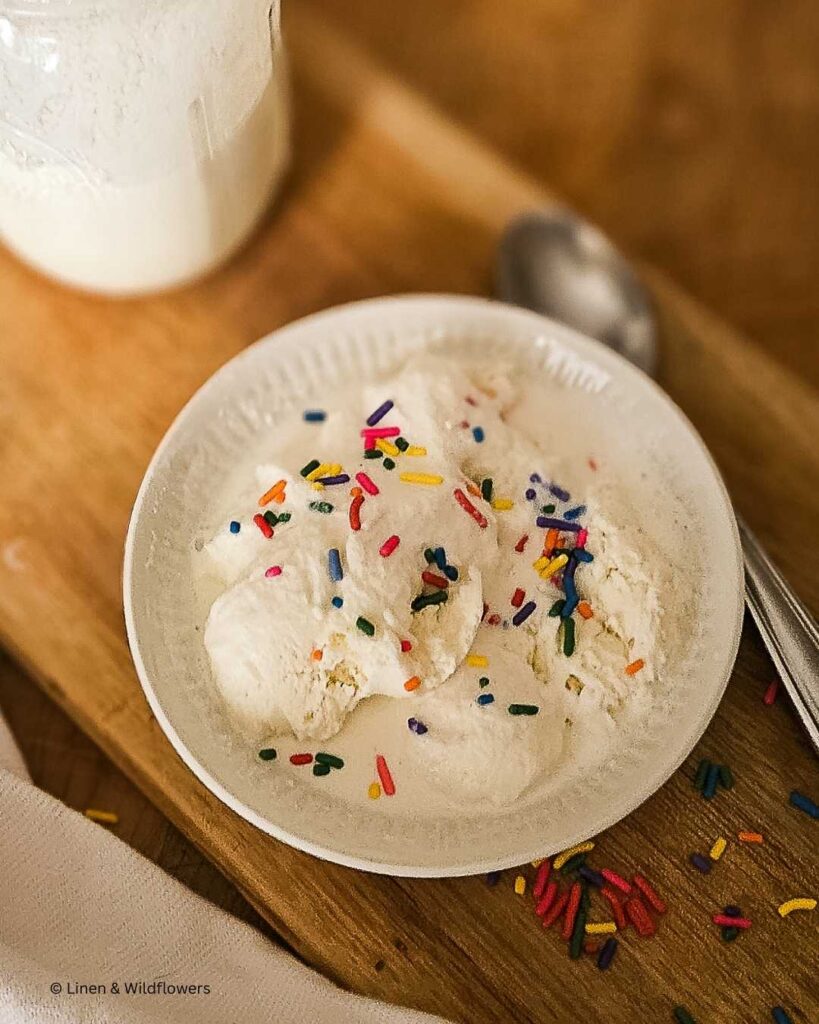
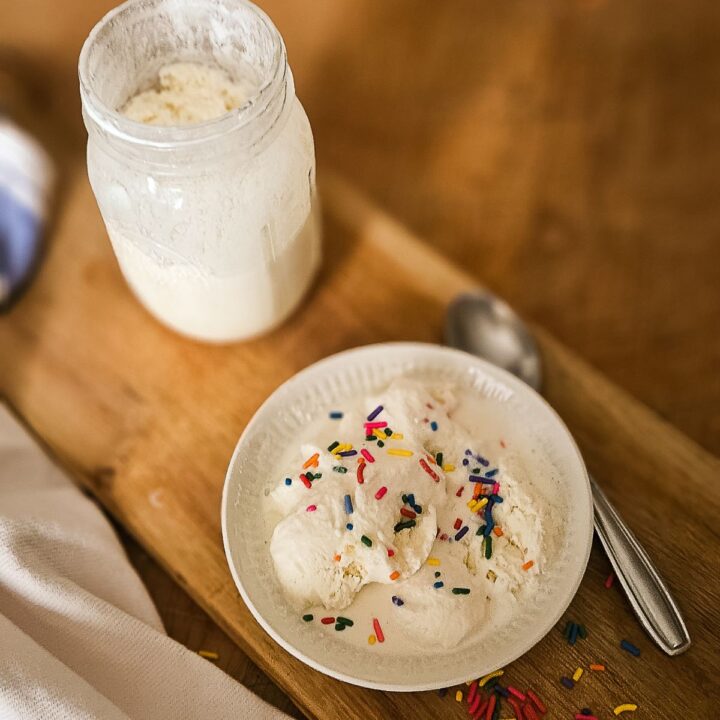
Take your jar ice cream to the next level by adding a variety of mouthwatering toppings. Sprinkle on colorful sprinkles for a festive touch, crushed nuts for extra crunch, or a dollop of whipped cream for a luxurious finish.
The sky’s the limit when it comes to toppings, so get creative and make your ice cream truly special. Remember, these variations are just the tip of the iceberg. Mix and match different ingredients, flavors, and toppings to create your signature Mason jar ice cream masterpiece. The joy of homemade ice cream lies in the freedom to experiment and discover your favorite combinations. So, let your taste buds guide you as you embark on a delightful journey of flavor exploration. Prepare to savor every spoonful of your customized Mason jar ice cream creation!

4-INGREDIENT MASON JAR ICE CREAM HACK RECIPE
Ingredients
- 1 cup heavy cream (or whipping cream)
- 1 cup whole milk
- 1/2 cup granulated sugar
- 1 teaspoon vanilla extract
Instructions
- Combine the heavy cream, whole milk, granulated sugar, and vanilla extract in a mixing bowl. Stir until the sugar is completely dissolved.
- Pour the mixture into the Mason jar, leaving some headspace at the top to allow for expansion as it freezes. Seal the jar tightly with the lid.
- Place the sealed Mason jar in the larger container or bowl.
- Fill the larger container or bowl with ice cubes, leaving some space at the top.
- Sprinkle a generous amount of salt over the ice cubes. The salt helps lower the freezing point of the ice, allowing the ice cream to freeze more quickly.
- Gently shake and swirl the container to distribute the salt evenly among the ice cubes.
- Continue adding layers of ice and salt until the ice reaches the top of the Mason jar. Make sure the salted ice mixture surrounds the jar completely.
- Begin shaking and swirling the container. This motion, combined with the salted ice mixture, will lower the temperature inside the Mason jar, causing the ice cream mixture to freeze.
- Keep shaking and swirling the container for about 10-15 minutes or until the ice cream reaches the desired consistency. You can check the progress by carefully opening the jar and stirring the mixture with a spoon.
- Once the ice cream is ready, remove the Mason jar from the ice and wipe off any excess salt. Then, open the jar and enjoy your homemade ice cream!
Notes
- 1-16 oz Mason jar with a tight-fitting lid
- Ice cubes
- Salt (rock salt or coarse salt works best)
- A larger container or bowl
Remember, this is a basic recipe, and you can experiment with different flavors by adding fruits, chocolate chips, or other mix-ins before freezing. So have fun and enjoy your delicious homemade ice cream!
Nutrition Information
Yield 2 Serving Size 16 ozAmount Per Serving Calories 679Total Fat 47gSaturated Fat 30gTrans Fat 1gUnsaturated Fat 14gCholesterol 147mgSodium 85mgCarbohydrates 59gFiber 0gSugar 60gProtein 7g
Calculated Nutrition is an estimate.
In conclusion
The Mason jar ice cream hack is a delightful and accessible way to create homemade frozen treats. With just a glass jar, a handful of ingredients, and a little bit of shaking, you can enjoy creamy and delicious ice cream without the need for specialized equipment. Whether you prefer classic vanilla or want to explore endless flavor variations, the Mason jar method allows for creativity and customization. It’s a great activity to involve the whole family, sparking joy and excitement as you watch the transformation from liquid to frozen delight. So why wait? Embrace the simplicity and charm of the Mason jar ice cream hack, and indulge in the pleasure of homemade ice cream whenever your heart desires. Treat yourself and your loved ones to this delightful frozen treat and create memories that will last a lifetime.
 If you want to follow along on our home restoration/renovation plans and all of our exciting antique & thrift finds, be sure to check out Linen and Wildflowers on Facebook, Instagram, and Pinterest! And don’t forget to sign up for our newsletter to receive updates.
Shop this Post!


Leave a Reply