
How to Clean a Stovetop Percolator (2 Easy Methods)
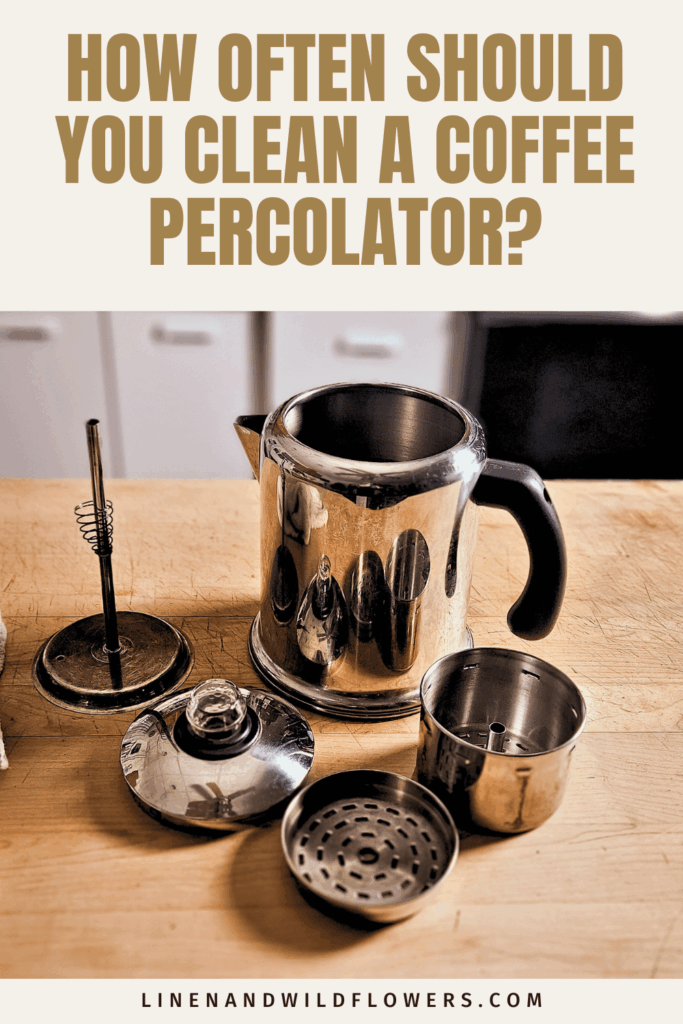
If your coffee tastes bitter or you notice coffee residue and mineral buildup inside your pot, it’s time to deep-clean your percolator. Cleaning a stovetop percolator is easy and requires only a few simple household supplies.
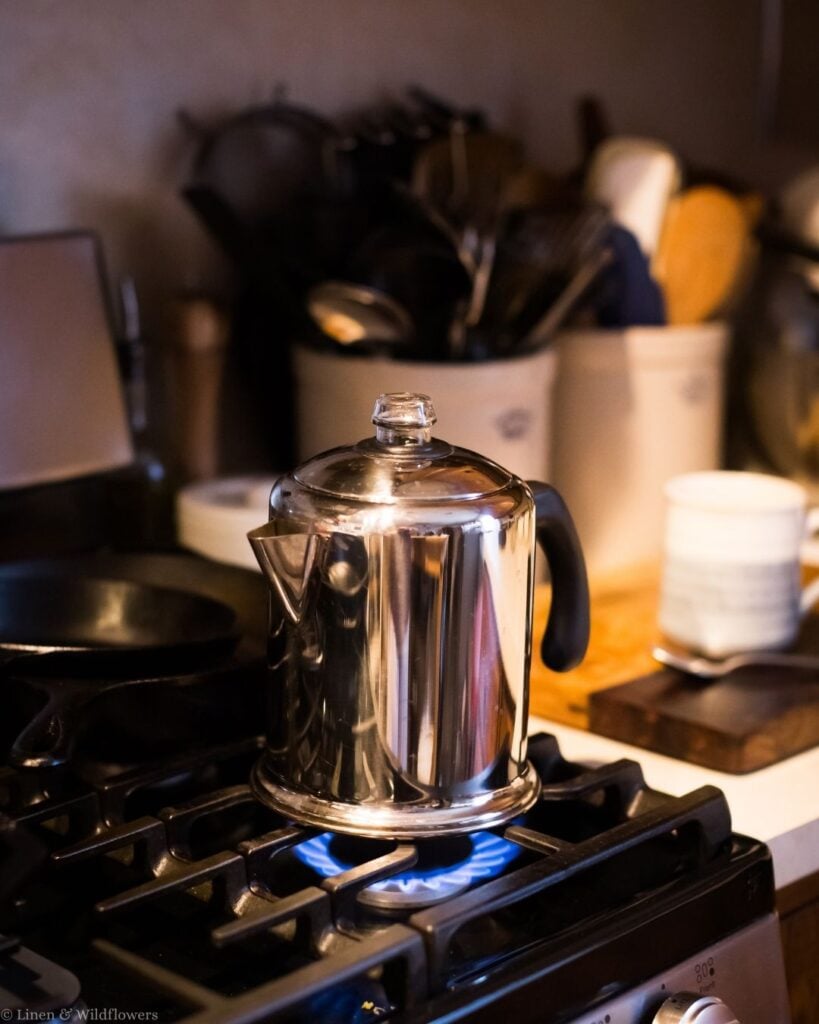
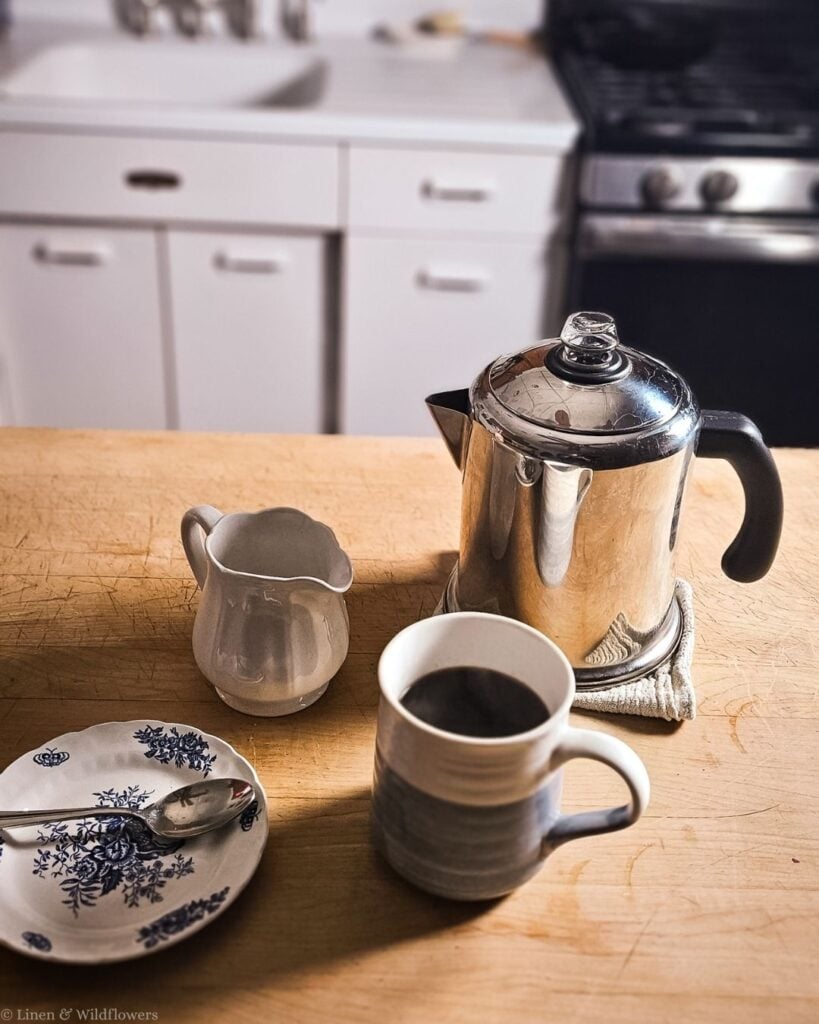
When I ditched my traditional coffeemaker and started using a stovetop percolator, I never looked back. It was seriously one of the best decisions I made!
Of course, using a percolator takes a little longer when I’m waiting for that first cup of coffee in the morning. But I love the process and knowing I’ll enjoy a good cup of coffee before starting my day.
Like any coffee pot, a stovetop percolator needs regular cleaning to remove leftover coffee oils, stains, and mineral deposits. Today, I’m sharing two simple ways to clean your percolator, plus a few tips to keep your coffee tasting its best.
3 Tips for Keeping Your Percolator Clean
A little daily maintenance can go a long way toward keeping your percolator in good condition.
- Wash it after every use. Clean your percolator with warm water, mild dish soap, and a non-abrasive sponge.
- Never leave leftover coffee sitting overnight. When you’re finished brewing, empty the pot and discard the used coffee grounds.
- Deep clean it regularly. Depending on how often you use your percolator and the mineral content of your water, a deeper cleaning every one to two months may be sufficient.
How to Clean a Stovetop Percolator After Each Use
Regular cleaning is the easiest way to prevent coffee residue and buildup from accumulating inside your percolator.
Once you’ve finished brewing your coffee, follow these simple steps:
- Allow the percolator to cool before handling it.
- Empty any remaining coffee and discard the used grounds.
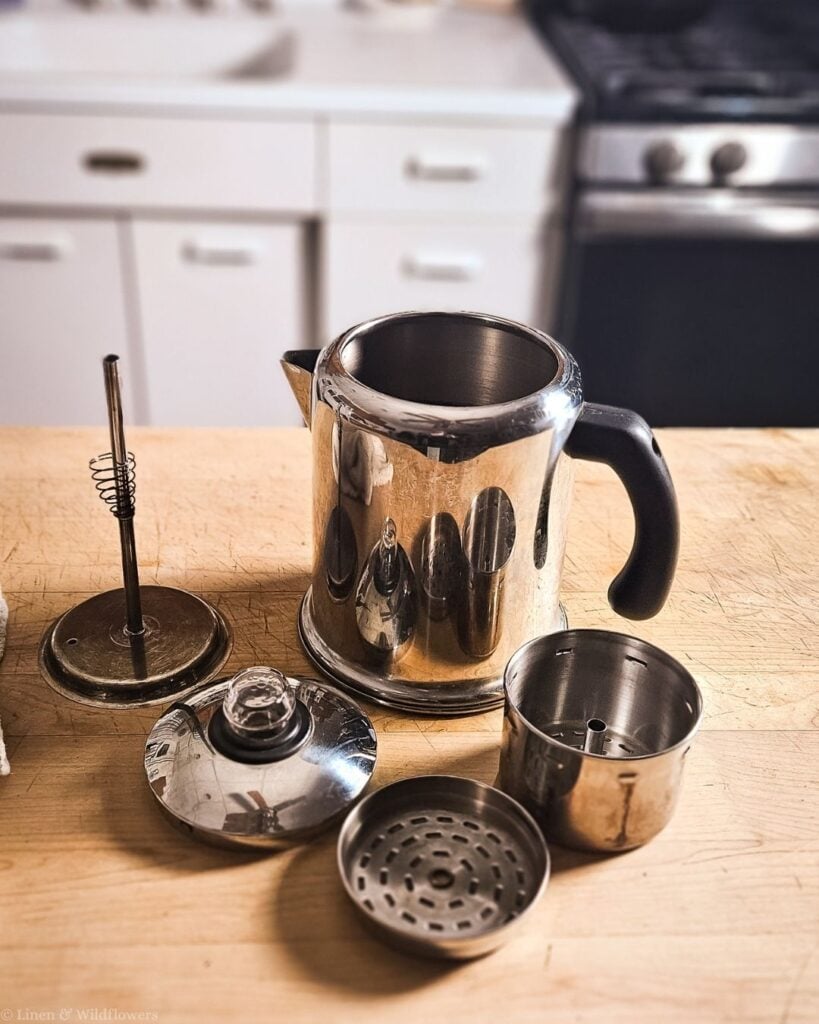
- Disassemble the pot and remove the filter basket, stem, and other removable parts.
- Wash the components with warm water and mild dish soap.
- Use a non-abrasive sponge to remove coffee residue from the inside of the pot.
- If needed, clean the stem and small openings with a soft cleaning brush or pipe cleaner.
- Rinse everything thoroughly, then dry with a clean tea towel or let the pieces air-dry completely.
Once everything is clean and dry, reassemble your percolator and store it until you’re ready to brew another pot.
How to Deep Clean a Stovetop Percolator
Even with regular washing, coffee oils, stubborn stains, and mineral deposits can build up over time. If your percolator needs a little extra attention, consider these two household cleaning options.
Baking soda can help loosen coffee residue and absorb odors, while white vinegar can help dissolve mineral deposits caused by hard water.
Important: Check your percolator manufacturer’s care instructions before using either method. Some materials and finishes require special care.
Method 1: How to Clean a Percolator With Baking Soda
Baking soda is a handy household cleaner that can help remove stubborn coffee residue and odors. However, it is not as effective as an acidic cleaner like vinegar for dissolving mineral scale.
Here’s how to use baking soda to clean your percolator.
What you’ll need:
- Baking soda
- Warm water
- Mild dish soap
- Non-abrasive sponge
- Soft cleaning brush
Instructions:
- Empty and disassemble your cooled percolator.
- Mix a small amount of baking soda with water to make a gentle cleaning paste.
- Apply the paste to stained areas inside the pot, avoiding abrasive scrubbing.
- Use a soft sponge to loosen the coffee residue gently.
- Clean the filter basket and stem with warm, soapy water and a soft brush.
- Rinse all the components thoroughly to remove any remaining baking soda.
- If needed, wash again with mild dish soap, then rinse and dry completely.
For stubborn stains, repeat the process. Always test a small, inconspicuous area first and avoid abrasive cleaning on delicate finishes.
Method 2: How to Clean a Percolator With Vinegar
White vinegar is a popular option for removing mineral deposits and hard-water buildup. Its acidity helps dissolve scale that can build up inside a coffee pot over time.
What you’ll need:
- White vinegar
- Water
- Mild dish soap
- Non-abrasive sponge
- Soft cleaning brush
Instructions:
- Make sure your percolator is empty and free of used coffee grounds.
- Mix equal parts white vinegar and water, filling the pot to the appropriate level.
- Pour the mixture into the percolator and assemble it according to the manufacturer’s instructions.
- Place the percolator on the stove and heat it according to the manufacturer’s cleaning guidance. If the instructions permit running a cleaning cycle, follow the recommended time and temperature.
- Turn off the heat and let the pot cool before handling.
- Empty the vinegar solution and wash the pot, stem, and filter basket with warm water and mild dish soap.
- Rinse thoroughly to remove any remaining vinegar.
- If the manufacturer’s instructions allow, run a fresh-water cycle to rinse the internal components.
- Let all parts dry completely before reassembling.
Note: If your percolator has heavy mineral buildup, you may need to repeat the cleaning process. Always follow the manufacturer’s instructions, and never heat an empty percolator.
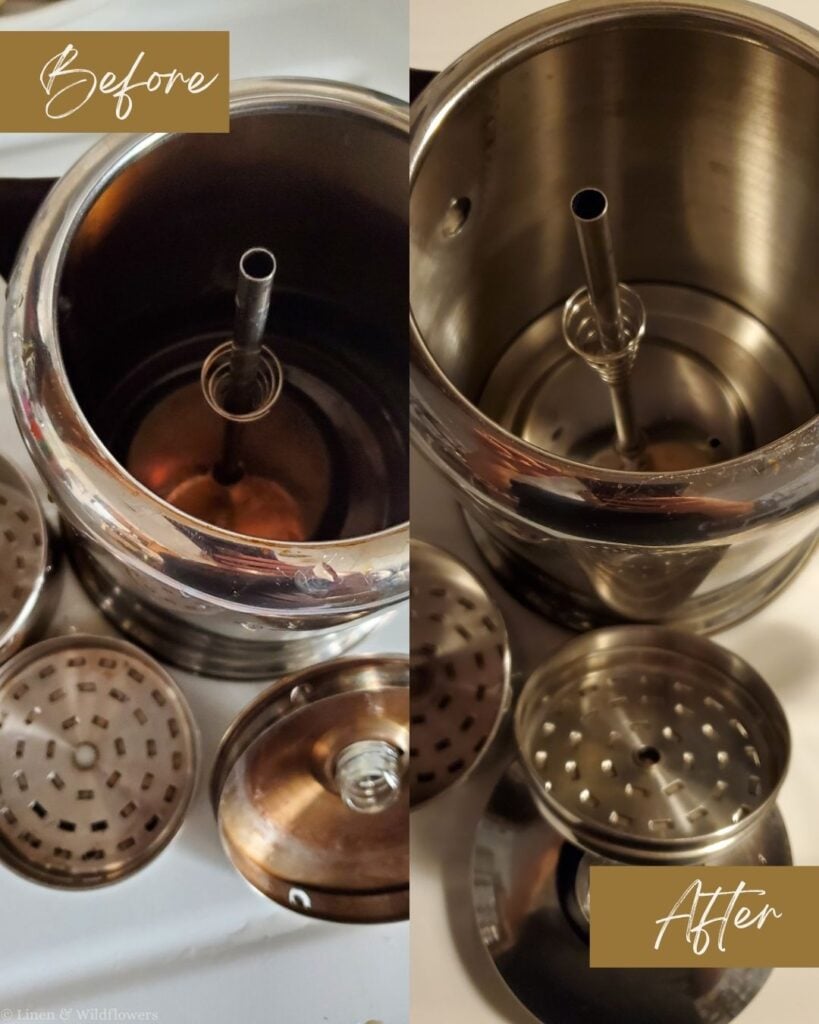
What You’ll Need to Deep Clean a Percolator
You probably already have most of these supplies in your kitchen.
- Non-abrasive sponge
- Soft pipe-cleaning brush
- Mild dish soap
- Water
- Baking soda for coffee residue and odors
- White vinegar for mineral deposits, if approved for your percolator
You don’t need to purchase expensive specialty cleaners to keep your percolator clean. A few simple supplies and regular maintenance can help keep it in good shape.
Can You Use Vinegar or Baking Soda to Clean an Electric Percolator?
You may be able to use these cleaning products on an electric percolator, but you should always check the manufacturer’s instructions first.
For electric models, unplug the appliance and let it cool before cleaning. Never immerse the electrical base, cord, or plug in water.
Do not run a vinegar or baking soda cleaning cycle through an electric percolator unless the manufacturer specifically permits it. Some models have components or finishes that require a different cleaning method.
Does Vinegar Remove Coffee Stains?
Vinegar can help with certain stains, particularly mineral deposits and some residue. However, it may not remove every stubborn coffee stain.
For ordinary coffee residue, start with warm water, mild dish soap, and a non-abrasive sponge. Baking soda may also help loosen stubborn residue when used gently.
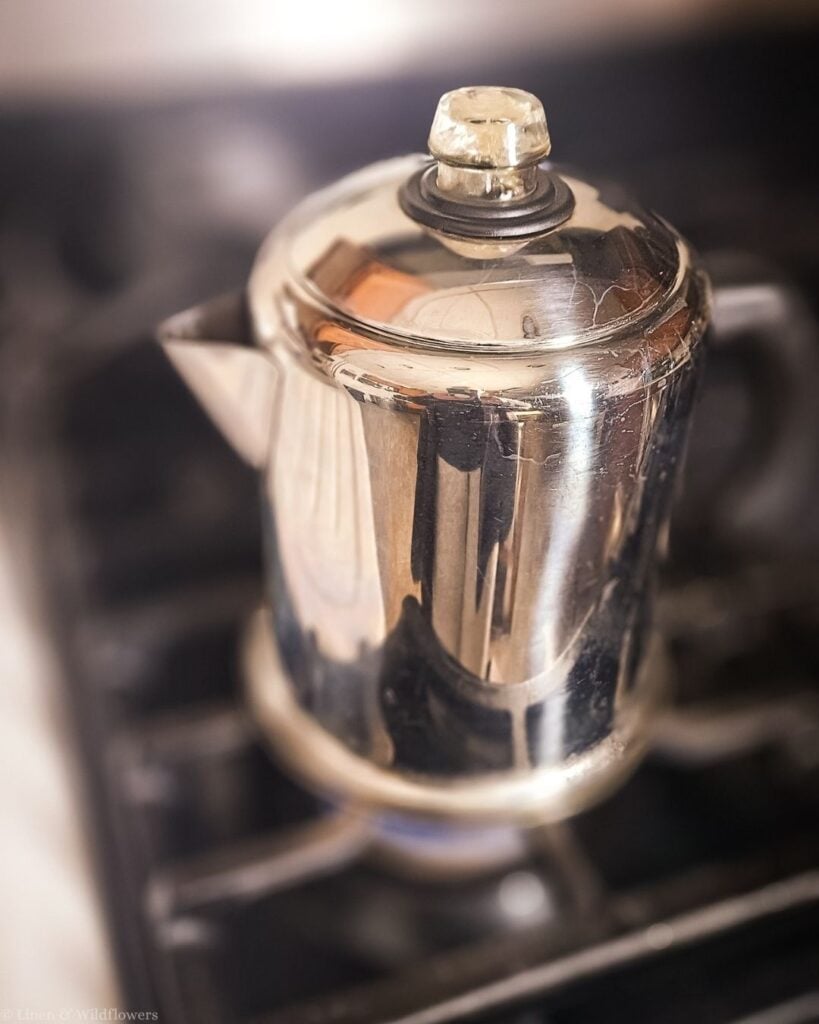
How Often Should You Deep Clean a Percolator?
For everyday use, a thorough cleaning every one to two months is a reasonable starting point. You may need to clean it more often if you have hard water or use your percolator several times a day.
Here are a few signs that your percolator may need a deep cleaning:
- Your coffee tastes unusual or bitter.
- You notice mineral deposits inside the pot.
- Coffee stains or oily residue remain after you wash it.
- The stem or filter basket has visible buildup.
Remember that bitter coffee isn’t always caused by a dirty percolator. Coffee beans, grind size, brewing time, and water temperature can also affect taste.
More Posts You’ll Fancy!
Frequently Asked Questions
Final Thoughts
Keeping your stovetop percolator clean doesn’t have to be complicated. Empty it after each use, wash it with mild dish soap, and do a deeper clean when needed to keep your coffee tasting its best.
I love the simple pleasure of making coffee in my stovetop percolator, and caring for it makes that morning routine even more enjoyable.
I hope these stovetop percolator cleaning tips help! Have you found a favorite way to keep your coffee pot clean? I’d love to hear about it in the comments below.