
Simple DIY Feather Art Piece Perfect For Your Walls
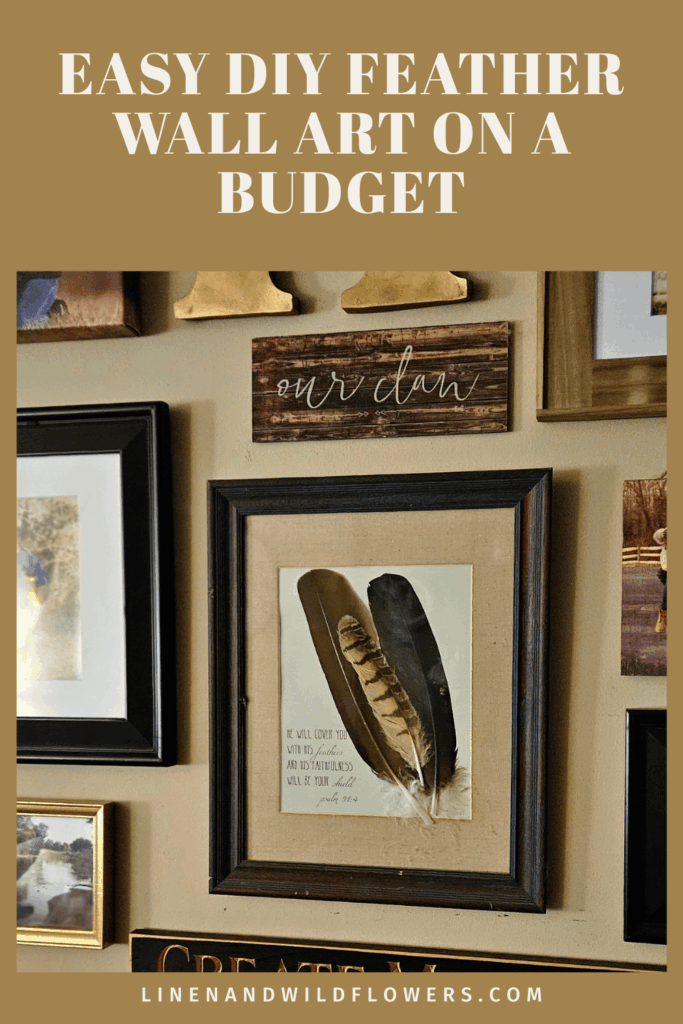
Looking for an easy, budget-friendly way to decorate your walls? This simple DIY feather art project brings a touch of nature into your home while creating something meaningful and personal.
With just a few supplies, you can turn found feathers, a piece of paper, and an old picture frame into lovely feather wall art. You can even add a favorite Bible verse or meaningful quote to make your artwork extra special.
The best part? You may already have everything you need!
A Personal Touch: The Story Behind My Feather Art
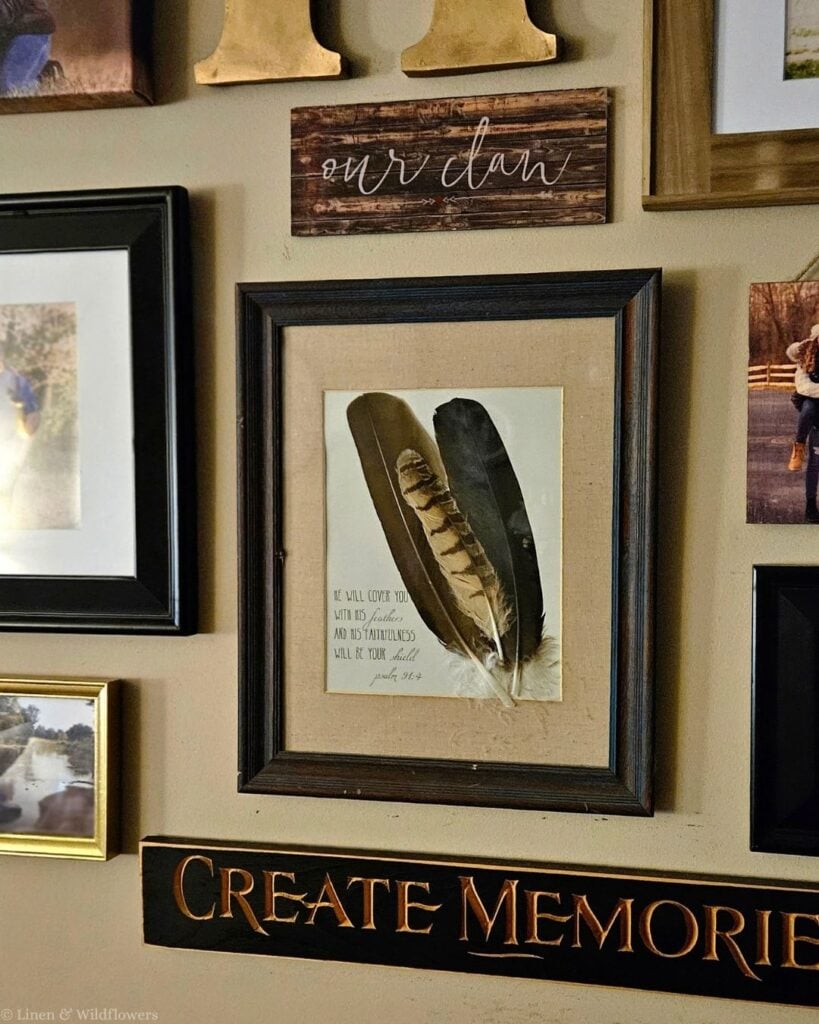
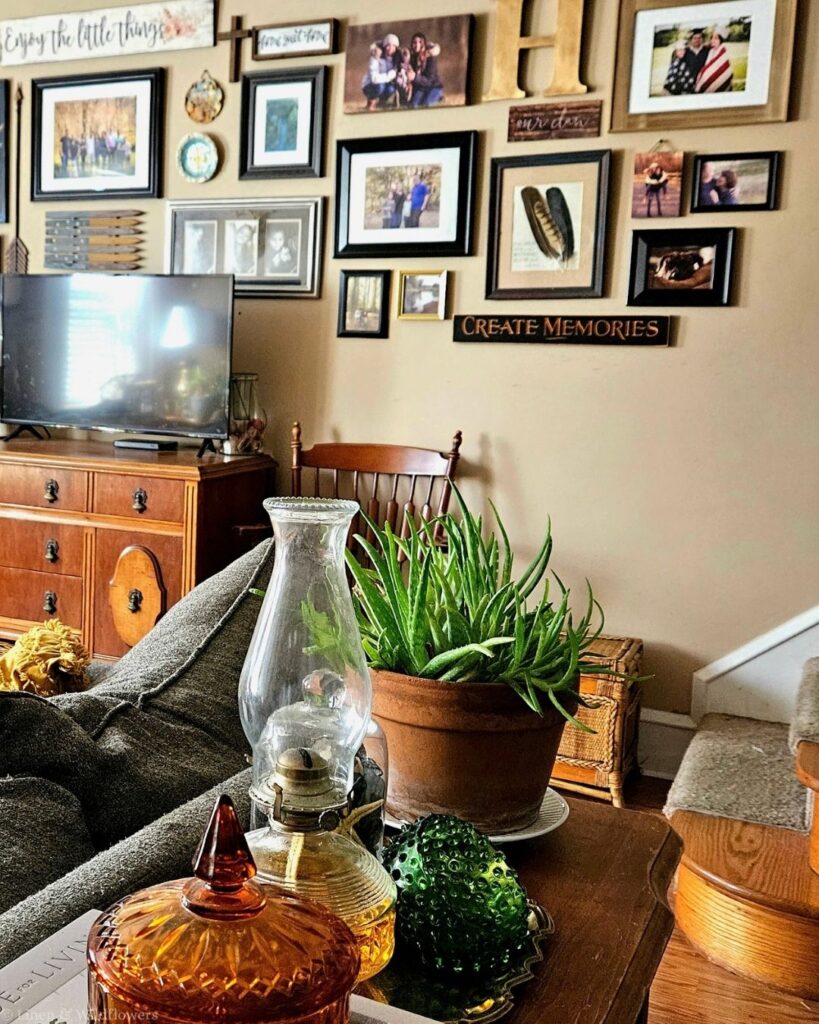
One day, my husband and twin daughters took a stroll together and came home with three beautiful feathers they had found along the way. I wanted to preserve the memory of that special day, so I decided to turn the feathers into a one-of-a-kind piece of art for our gallery wall.
To make the artwork even more meaningful, I added a Bible verse that spoke to my heart. The entire project took only a few minutes to complete. I already had a picture frame and paper on hand, so it didn’t cost me a thing!
Now, whenever I see this little piece of feather art on our gallery wall, I’m reminded of the precious time my husband and daughters spent together. It’s a simple reminder that some of the most meaningful things in our homes don’t have to cost a lot of money.
I love decorating with items that tell a story, and this DIY project shows how you can turn an ordinary find into something special.
Supplies You’ll Need for DIY Feather Art
One thing I love most about this project is how simple and inexpensive it is. You can easily customize your artwork to fit your home and personal style.
Materials:
- Feathers (natural or synthetic)
- Thick art paper or cardstock
- Picture frame with a mat, if desired
- Optional background paper in a color of your choice
Tools:
- Hot glue gun and glue sticks or glue dots
- Paper trimmer or scissors
- Computer and printer, if adding a Bible verse or quote
Optional supplies for a painted background:
- Acrylic paint
- Paintbrush
- Small decorative embellishments, if desired
How to Make Simple DIY Feather Wall Art
Follow these easy steps to create your own feather art. You can keep the design simple and natural or personalize it with a favorite verse, quote, or background color.
Step 1: Choose Your Paper and Picture Frame
Start by choosing your artwork size. Use thick art paper, cardstock, or a small canvas, depending on the look you want. I used a picture frame I already had on hand, which made this project even more budget-friendly.
If you’re creating artwork for a gallery wall, choose a frame that complements your existing decor. An antique or thrifted frame would be especially lovely for a vintage-inspired home.
Step 2: Create Your Background (Optional)
If you want to add color, paint your background with acrylic paint and a paintbrush. Choose a color that complements your feathers and the room where you’ll display the finished piece.
You could also use decorative paper or leave the background white for a clean, simple look. I prefer keeping things uncomplicated, so don’t feel that you need to add extra details. Sometimes, the simplest designs are the prettiest!
Let the paint dry completely before moving on to the next step.
Step 3: Arrange Your Feathers
Lay your paper, feathers, and picture mat together before attaching anything. Experiment with different arrangements until you find a design you love.
You can position the feathers vertically, fan them out, or arrange them in a natural pattern. If you’re planning to include a Bible verse or quote, leave enough room for the text. Arrange everything first so you can see how the finished artwork will look inside the frame.
Step 4: Add a Bible Verse or Meaningful Quote
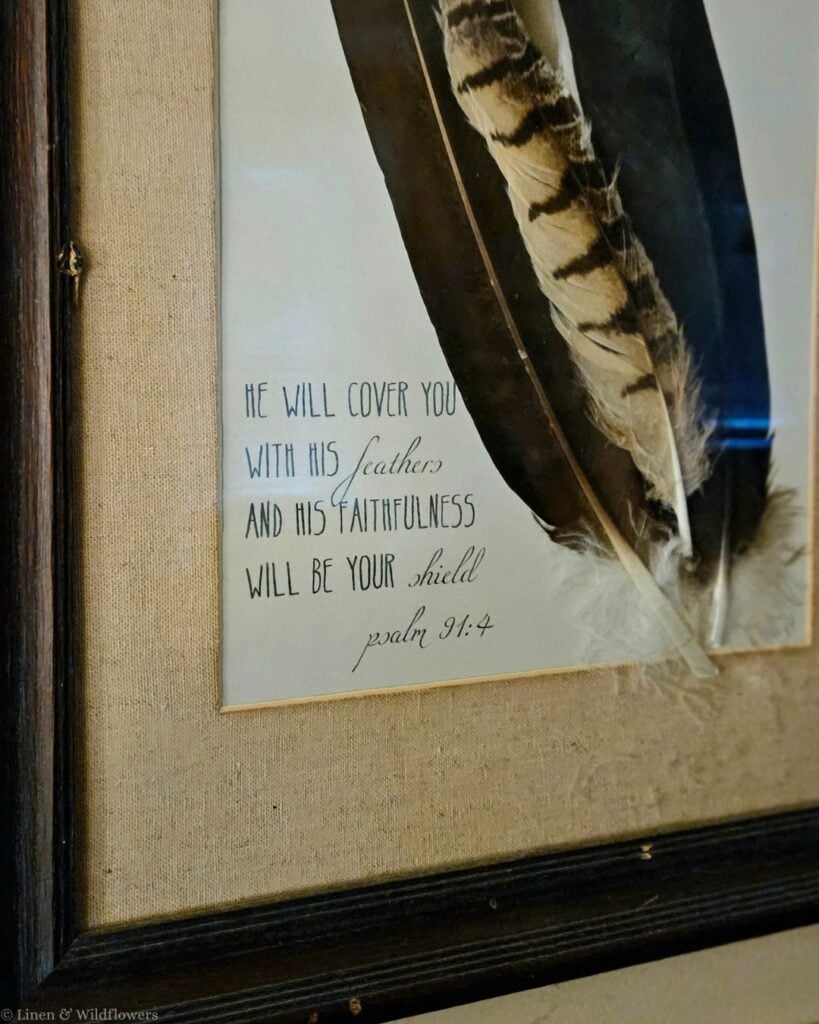
Adding a Bible verse or favorite quote is a wonderful way to make your DIY feather art more personal. For my artwork, I chose Psalm 91:4, which speaks of God’s protection and faithfulness:
“He will cover you with his feathers, and under his wings you will find refuge.” — Psalm 91:4 (NIV)
I love how beautifully this verse connects with the feathers and gives the artwork a deeper meaning. To add your own verse or quote, open a document in your word-processing program. Set the page size to match your paper, choose a font you love, and position the text where you want it to appear.
You may need to print a few test pages to get the placement and font size just right. Be patient and make adjustments until you’re happy with the result.
Step 5: Attach the Feathers
Once you’re satisfied with your arrangement, attach the feathers. If you’re using found feathers, make sure they’re free of visible dirt and completely dry. Handle them gently to avoid damaging their delicate structure.
Use a small amount of hot glue or a glue dot to secure each feather to the paper. Test your adhesive on a spare piece of paper first, especially if you’re working with delicate materials.
If you’re using hot glue, be careful not to apply too much. A little adhesive is usually enough to keep the feathers in place.
Step 6: Frame and Display Your Artwork
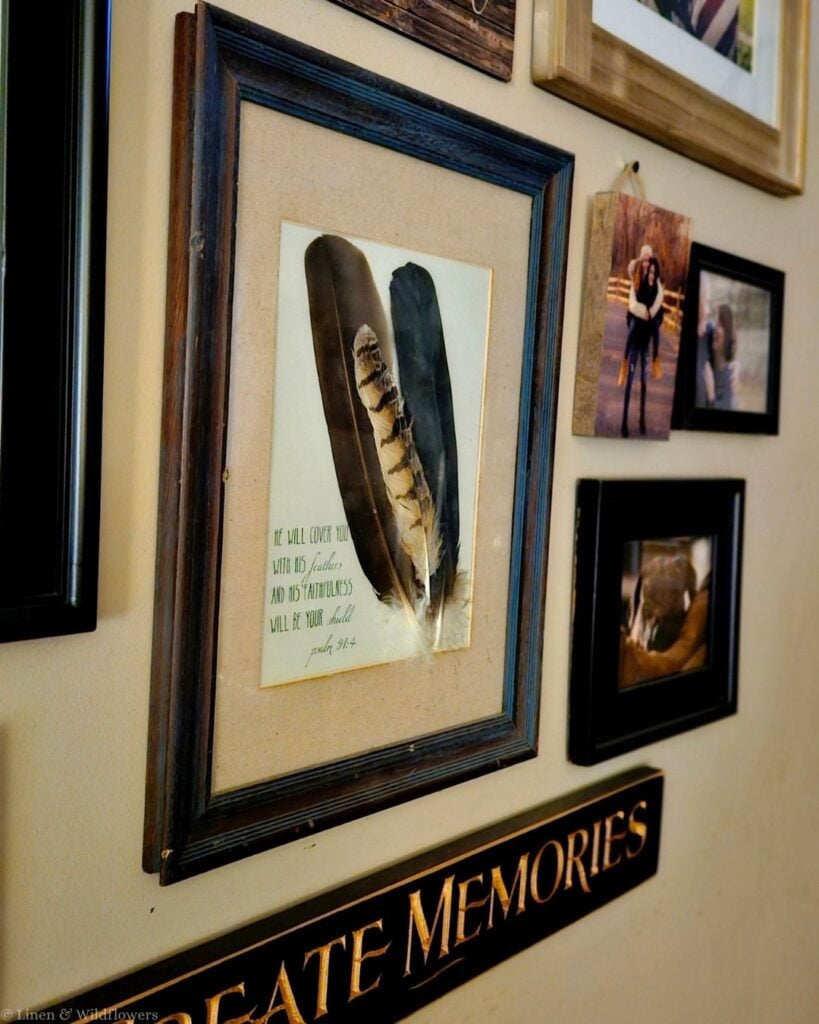
Once everything is secure and dry, place your artwork inside your chosen frame for a finished look. A vintage frame adds character and charm, while a simple wooden or neutral frame creates a more understated look.
Hang your finished feather art on a gallery wall, display it on a shelf, or add it to a small grouping of collected treasures. This gives your piece a polished finish.
I love how a simple handmade piece can add personality and meaning to a room without costing much.
Tips for Creating Beautiful Feather Art
Here are a few helpful tips to keep in mind when making your own feather wall art.
- Choose sturdy paper. Thick cardstock or quality art paper provides a stronger foundation for your feathers and printed text.
- Consider acid-free paper. If you want to preserve your artwork for years to come, acid-free paper is a good choice because it helps reduce yellowing and deterioration over time.
- Keep your design simple. Let the feathers be the focal point. Too many embellishments can distract from their natural beauty.
- Use what you already have. Shop your home and thrift stores for picture frames, paper, and other supplies before buying anything new.
- Protect your finished artwork. Keep it away from direct sunlight, moisture, and excessive humidity to help preserve the feathers and paper.
Remember, this is your creation. There is no right or wrong way to arrange your feathers, so have fun experimenting with different ideas!
More Posts You’ll Fancy!

Frequently Asked Questions
Don’t want to use real feathers? Here is a free printable for you!
If you’d rather not use real feathers, I’ve created a free printable with beautiful feather designs to add a nature-inspired touch to your home. It’s a simple alternative for decorating your walls or incorporating feather designs into other creative projects.

Please Note: This is a high-resolution file that is best for printing!

SIMPLE DIY FEATHER ART PIECE PERFECT FOR YOUR WALLS
Create beautiful DIY feather art with this easy, budget-friendly tutorial.
Add a meaningful Bible verse for personalized wall decor.
Materials
- Feathers (natural or synthetic)
- Thick art paper or cardstock
- Picture frame with a mat, if desired
- Optional background paper in a color of your choice
Tools
- Glue Dots or Hot Glue
- Paper Trimmer
- Acrylic paints (colors of your choice)
- Paint Brush
- Computer and printer, if adding a Bible verse or quote
Instructions
- Choose your canvas or art paper
- Paint the background (Optional)
- Layout your supplies
- Select Your Verse
- Print the verse on the Paper
- Arrange the feathers
- Glue the feathers in place
- Add Bible verse or meaningful quote
- Picture Frame (optional)
Notes
- Choose sturdy paper. Thick cardstock or quality art paper
provides a stronger foundation for your feathers and printed text. - Consider acid-free paper. If you want to preserve your artwork
for years to come, acid-free paper is a good choice because it helps reduce
yellowing and deterioration over time. - Keep your design simple. Let the feathers be the focal point.
Too many embellishments can distract from their natural beauty. - Use what you already have. Shop your home and thrift stores
for picture frames, paper, and other supplies before buying anything new. - Protect your finished artwork. Keep it away from direct
sunlight, moisture, and excessive humidity to help preserve the feathers and
paper.
Remember, this is your creation. There is no right or wrong
way to arrange your feathers, so have fun experimenting with different ideas!
Final Thoughts
This simple DIY feather art project is a lovely reminder that decorating your home doesn’t have to be expensive or complicated. Sometimes, the most meaningful pieces are the ones we create ourselves using items we already have, and the finished result feels personal.
Whether you use feathers you have collected, synthetic alternatives, or my free feather printable, you can create a beautiful wall art piece that reflects your personal style.
I especially love that my feather artwork holds a special memory of a day my husband and daughters spent together. Adding a Bible verse made it even more meaningful, turning a few simple feathers into something I treasure.
If you love decorating with vintage finds, meaningful keepsakes, and budget-friendly projects, I hope this DIY feather art inspires you to create something special for your own home. Remember, y’all, a home filled with heart and soul is built one meaningful detail at a time!
Pretty idea – and great for fall! Pinned!
Shelley
Thank you SO much!
Fascinating. I had no idea there were specific instructions to prevent feathers from decomposing. Very cool!
Yes, it’s important if you want to preserve them for longevity!
Thank you Dusty for this interesting post, another feather in your hat. Lol, pun intended.
lol 🙂 Glad you liked it!