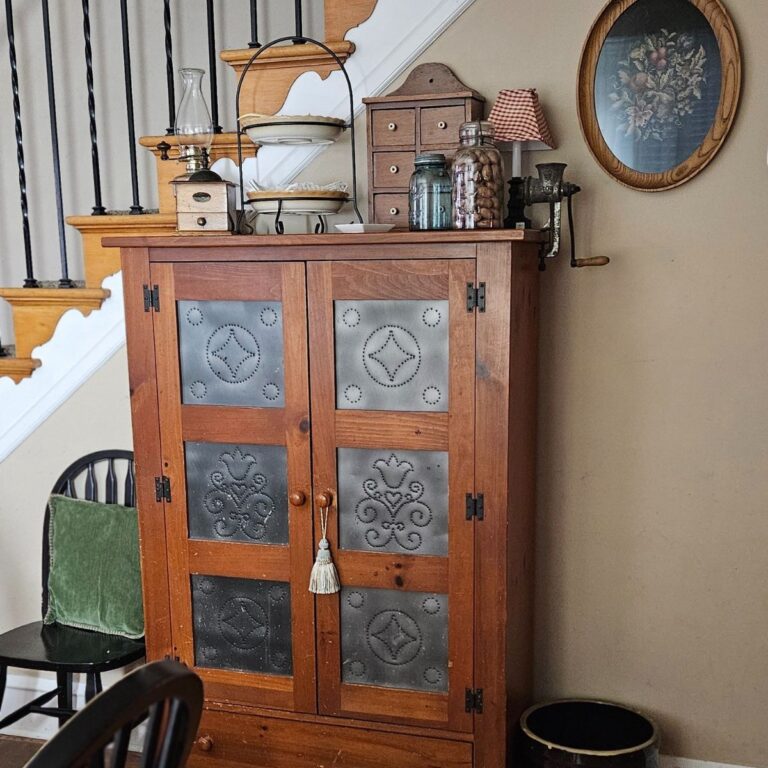
Thrifted Frame Makeover for Vintage Wall Art
If you love decorating on a budget, this thrifted frame makeover is an easy way to create high-end-looking wall art for your home. With a little antique gold Rub ’n Buff and printable art, you can transform a basic secondhand frame into a beautiful vintage-style decor piece in under an hour.
This simple DIY vintage frame project is beginner-friendly, affordable, and perfect for adding warmth and character to your space.
I found this frame at a thrift store in great shape. It had beautiful structure and detail, and it just needed a little extra love. To give it new life, I used antique gold Rub ’n Buff to highlight the texture and bring out that vintage charm.
Then I added printable art I purchased from Etsy, which made it feel completely custom. The transformation turned a simple secondhand find into a one-of-a-kind art piece, and I truly love how it came out in this space.
As an Amazon Associate, I earn from qualifying purchases, and this post contains affiliate links to products I love ♥ See my full disclaimer here!

Why This Thrifted Frame Makeover Works So Well
A thrift store frame might not look special at first, but with the right finish and art, it can become stunning budget wall art.

Styling Ideas for Your Vintage Frame
This DIY vintage frame looks beautiful:
- On a gallery wall
- Leaning on a mantel
- On a shelf layered with books
- In an entryway
- In a bedroom or guest room
Pair with thrifted decor, old books, and soft textures for a cozy, collected look.Supplies for Your DIY Vintage Frame
Supplies for Your DIY Vintage Frame
- Thrifted picture frame
- Antique Gold Rub ’n Buff
- Soft cloth or Brush (for application)
- Clean rag or paper towel (for buffing)
- Printable art (digital download)
- Printer
- Cardstock or Matte photo paper
- Glass cleaner (optional)
- Gloves (optional)
Note: While Etsy is a popular choice, you can also explore other platforms, such as Creative Market, for unique art options. Consider also checking out art-focused blogs or Pinterest for creative inspiration.
For those on a tight budget, websites like Unsplash and Pixabay offer free printable art that can be downloaded and printed for personal use.
How to Make a Thrifted Frame into Vintage Wall Art Step-by Step
Here are quick visual instructions for making the Thrifted Frame Makeover step-by-step. Remember, the full instructions are on the printable recipe card below.
- Choose the Right Thrifted Frame
- Clean the Frame
- Apply Antique Gold Rub ’n Buff
- Buff for a Soft Metallic Glow
- Print Your Art
- Assemble Your DIY Wall Art


DIY Thrifted Frame Makeover Cost Breakdown
One of the best parts of this project? It’s super budget-friendly. This shows that creating unique, vintage-inspired decor doesn’t have to be expensive. Even a tiny thrifted find can feel high-end with a little love and creativity.
Here’s what it cost to turn a simple thrifted frame into a one-of-a-kind piece of wall art:
- Thrifted frame: $2
- Antique Gold Rub ’n Buff: already owned (or ~$8 per tube)
- Collection of Printable Art: $10.23
Total: Under $11 for a beautiful, custom piece of wall art!
Pro Tip: If you’d like to customize your frame more, consider using other colors of Rub ’n Buff, such as Silver Leaf or Spanish Copper, to match your decor style. Alternatively, you can try using similar products, such as gilding waxes or metallic paints, for unique finishes.

Common Thrifted Frame Makeover Mistakes
This project is beginner-friendly, but a few small missteps can affect the final look. Avoid these common mistakes for the best results.
- Using Too Much Rub ’n Buff: A little truly goes a long way. Applying too much at once can make the finish look heavy or streaky, rather than softly aged. Start with a tiny amount and build up slowly.
- Covering All Details Instead of Highlighting: The goal is to enhance the frame’s texture, not hide it. Focus on raised areas, edges, and carved details so the dimension stands out and the frame keeps that vintage character.
- Using Glossy Printer Paper: Shiny paper can make the art look modern and less authentic. Matte paper or cardstock creates a softer, more classic look that pairs better with ornate frames.
- Skipping the Buffing Step: Buffing blends the finish and removes excess product. Without this step, the metallic finish can look flat or uneven rather than subtle.
- Choosing Art That’s Too Busy for Ornate Frames: Detailed frames already bring a lot of visual interest. Simple artwork, like botanicals, sketches, or landscapes, helps create balance and keeps the piece from feeling overwhelming.
Where This DIY Vintage Wall Art Looks Best
One of the best things about this thrifted frame makeover is its versatility. The vintage-style finish and printable art make it easy to blend into so many spaces around your home, adding warmth and character wherever it goes.
- Entryway: Place this piece in your entryway to create a welcoming first impression. Lean it on a console table or hang it above a small bench to instantly make the space feel collected and thoughtfully styled.
- Above a Dresser: This DIY vintage wall art looks beautiful above a dresser, especially when paired with a small lamp, a stack of books, or a simple vase. The antique gold detail adds softness and elegance to bedroom decor.
- Layered on a Mantel: Try leaning the frame on your mantel and layering it with other art, mirrors, or seasonal decor. Mixing heights and textures gives that cozy, lived-in look that feels timeless rather than staged.
- Bathroom Shelf Styling: Yes — even bathrooms deserve art. This piece adds charm to open shelving or a small wall space, especially when styled with candles, folded towels, or a small plant for a spa-like feel.
- Gallery Wall: This frame is perfect for a gallery wall. Its vintage finish helps break up modern frames and adds depth and interest. Pair it with different sizes and finishes for a curated, collected-over-time look.

Pro Tips for the Best Rub ’n Buff Finish
- Keep paper towels nearby to soften areas
- Start with less product than you think you need
- Work in natural light
- Highlight edges and raised details
- Buff well for a realistic metallic look
More Posts You’ll Fancy!


Frequently Asked Questions

Thrifted Frame Makeover for Vintage Wall Art
Equipment
- Printer with colored ink
Materials
- Thrifted picture frame
- Antique Gold Rub ’n Buff
- Soft cloth or Brush for application
- Clean rag or paper towel for buffing
- Printable art digital download
- Cardstock or Matte photo paper
- Glass cleaner optional
- Gloves optional
Instructions
- Choose the Right Thrifted Frame: Don’t worry about the color. Dark wood, dull gold, or outdated finishes are ideal options for a thrift-flip home decor project. Look for frames with Ornate details, Carved texture or molding, & Solid construction.
- Clean the Frame: Wipe away dust anddirt with a dry or slightly damp cloth. Clean the glass so your final art piecelooks polished and fresh. Allow everything to dry completely.
- Apply Antique Gold Rub ’n Buff: This step gives your frame that beautiful vintage finish. Squeeze a small amount of Rub ’n Buff onto your finger or cloth.Lightly rub it over raised details and edges. Focus on highlighting texture instead of covering the frame evenly. This technique creates dimension and gives the frame an aged, collected look.
- Buff for a Soft Metallic Glow: Use a clean cloth or paper towel to gently buff the surface. This blends the finish, removes excess product, and creates a soft antique gold sheen. You can build color gradually for greater depth.
- Print Your Art: Printable art is agreat way to create affordable wall art.
- Assemble Your DIY Wall Art: Place theprinted art behind the glass, secure the backing, and make sure everything iscentered.
- You now have a custom DIY wall decor made from a thrifted frame.
Notes
Printing tips:
- Use heavyweight paper or cardstock
- Choose matte paper for a vintage feel
- Print to the correct size
- Trim carefully for a clean fit
Final Thoughts
This thrifted frame makeover shows that beautiful home decor doesn’t have to be expensive. With a secondhand frame, antique gold Rub ’n Buff, and printable art, you can create timeless, vintage-inspired wall art that looks curated and unique.
DIY projects like this are one of the easiest ways to add personality, warmth, and charm to your home.
This is beautiful! Love how your frame looks now, and I love that lamp! I had one as a little girl, I wish I still had it 🙂
Thank you so much! The lamp was a marketplace find, & is one of my absolute favorites!