How to Organize Under a Kitchen Sink (Easy & Practical Tips!)
If the space under your kitchen sink feels like a black hole of half-empty bottles and random sponges, you’re not alone! The good news is that learning how to organize under your kitchen sink is easier than you think.
Keeping the area under your kitchen sink organized doesn’t have to be complicated. With a few smart accessories and simple strategies, such as decluttering, sorting, and proper storage, you can transform that messy cabinet into a tidy, functional space that makes everyday cleaning easier!
When organizing your kitchen cabinets, the one under the sink is often forgotten, yet it’s one of the most-used spots in your home. Between cleaning sprays, dish rags, and sponges, things can pile up quickly.
By taking time to declutter and reorganize, you’ll save time, reduce stress, and make your kitchen feel instantly cleaner.
As an Amazon Associate, I earn from qualifying purchases, and this post contains affiliate links to products I love ♥ See my full disclaimer here!

Why You Want to Have Under the Sink Organized
Keeping the space under your kitchen sink organized may seem like a small task, but it makes a big difference in your daily routine. When everything has a place, your kitchen feels calmer, cleaner, and more functional — no more digging through clutter to find what you need!
3 Reasons to Organize Under the Kitchen Sink:
- Saves Time: You can easily grab cleaning supplies without rummaging through piles of bottles or rags.
- Prevents Leaks & Damage: A tidy cabinet helps you spot plumbing leaks or moisture early before they cause bigger problems.
- Reduces Stress & Clutter: An organized space makes your kitchen look neater and gives you that satisfying sense of calm every time you open the cabinet.
- If the space under your kitchen sink feels like a black hole of half-empty bottles and random sponges, you’re not alone! The good news is that learning how to organize under your kitchen sink is easier than you think.
- Why You Want to Have Under the Sink Organized
- Step-by-Step for How to Organize Under a Kitchen Sink
- Common Mistakes When Organizing Under the Sink
- How to clean under the sink?
- Recommended Organizing Tools
- Take Inventory of what you have so you know How to Organize Under a kitchen sink.
- Frequently Asked Questions
- Maintenance Tip: Keep Your Under-Sink Space Organized
- More Posts You'll Fancy!
- Homemaking Made Easy: 5 Days to a Cozy & Organized Home
Step-by-Step for How to Organize Under a Kitchen Sink
Step 1: Clean Under the Kitchen Sink
Before you organize, give your space a fresh start!
- Empty everything from under the sink.
- Check expiration dates on cleaners or discard anything old, leaky, or unnecessary.
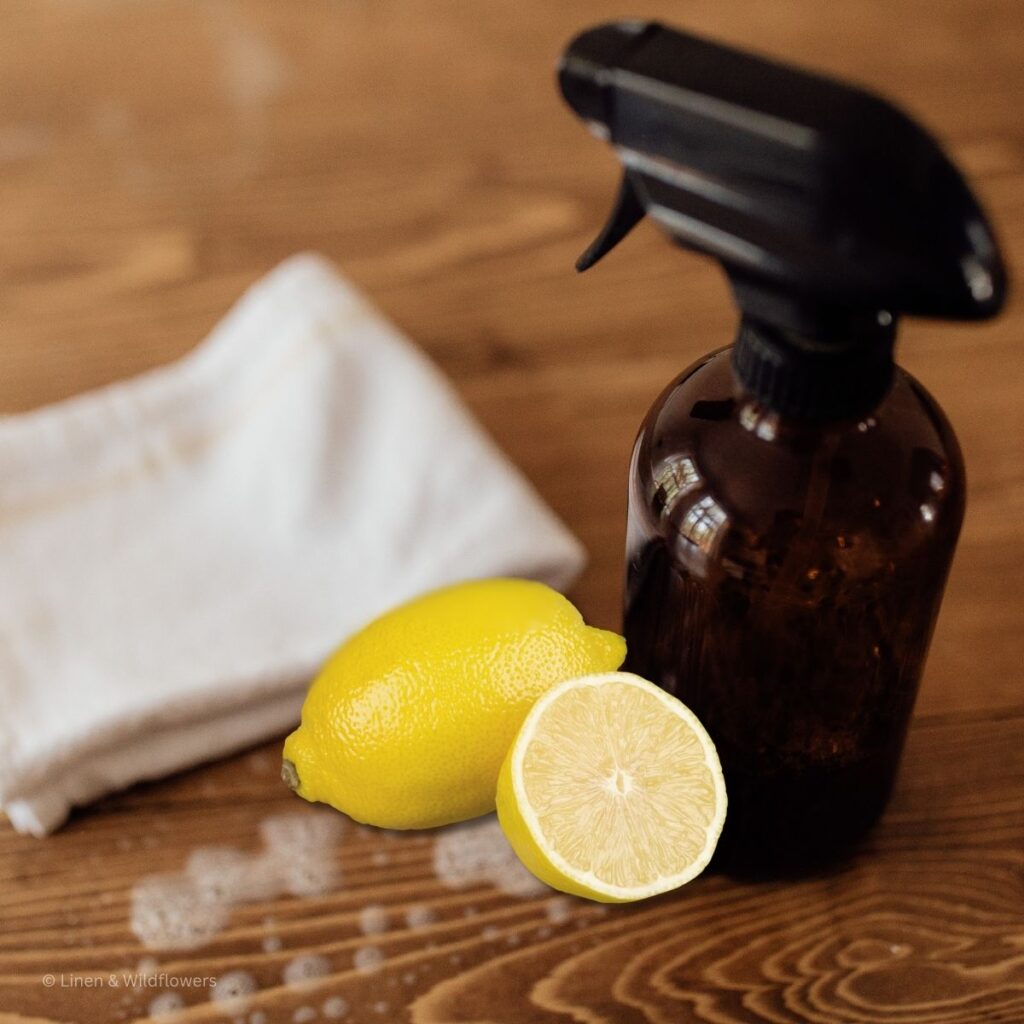
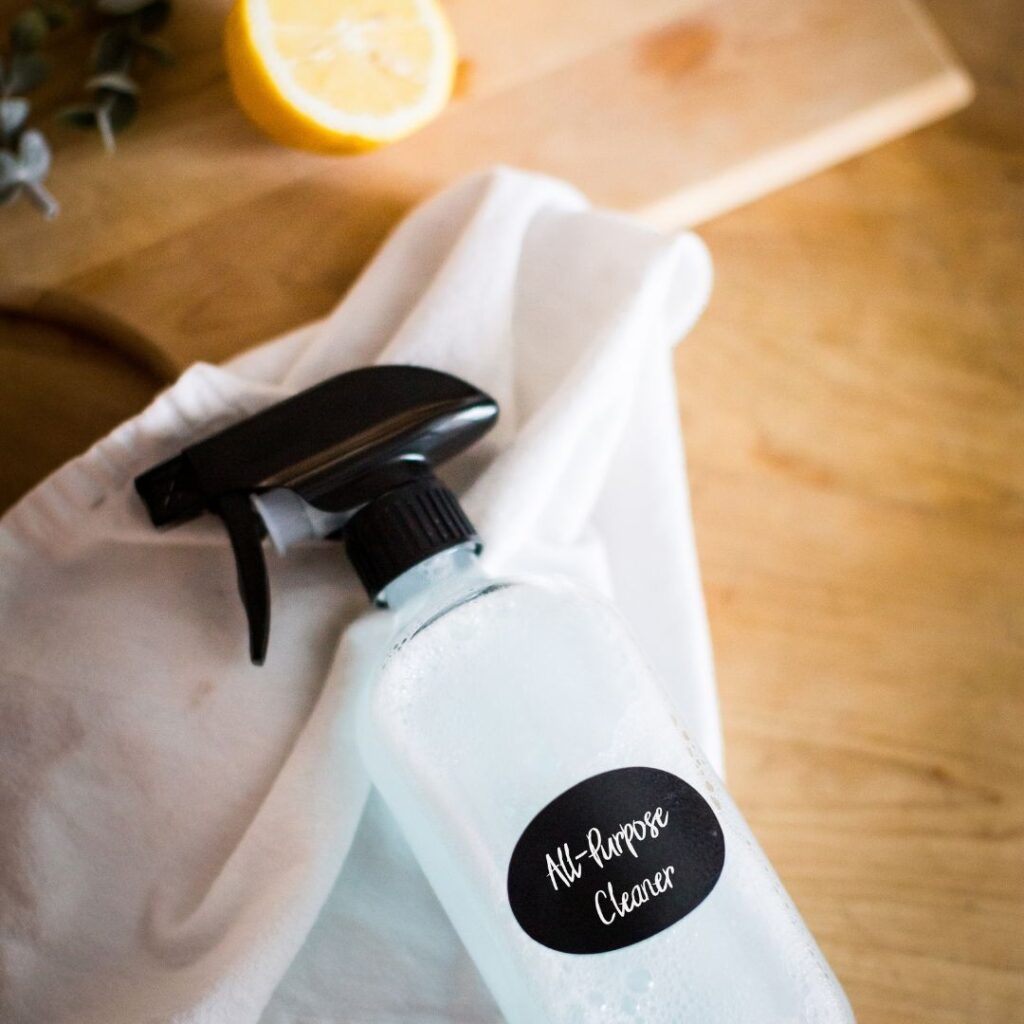
- Wipe down surfaces with an all-purpose cleaner or a vinegar-and-water solution to remove crumbs, spills, and grime.
- Dry completely before replacing items to prevent mildew or odors.
Pro Tip: Line the bottom of your cabinet with waterproof shelf liner or a plastic mat to protect it from future leaks and spills.
Step 2: Decide What to Keep Under the Sink
Only store items you reach for often. Everything else can be moved to another storage area (like a laundry room or utility closet).
Recommended items to keep under your kitchen sink:
- Cleaning rags and sponges
- Trash bags
- Everyday cleaners
- Dish gloves
- Dish brushes or scrubbers
- Cleaning caddy for quick grab-and-go
Handy Tip: Have extra curtain ring clips? Use them to hang your dish gloves on a tension rod or cabinet hook!
Step 3: Take Inventory & Declutter
Pull everything out and group similar items together — this helps you see what you already have and prevents buying duplicates.
If you keep extra cleaning products or bulk refills, consider storing those elsewhere.
Example: Keep refills for dish soap and hand soap in your laundry room or pantry.
Step 4: Work Around Plumbing & Obstructions
Every under-sink space is unique because of pipes, garbage disposals, or filters. Choose flexible storage solutions that fit around these obstacles. Look for expandable shelves that can be adjusted to fit your specific space, or shallow-depth bins that slide out easily. Specific product options might include extendable and collapsible shelves or stackable clear plastic bins that provide visibility and easy access.
Smart storage ideas:
- Use adjustable or tiered shelves to maximize vertical space.
- Add clear plastic bins or wire baskets for easy visibility.
- Store smaller items (like sponges or Brillo pads) in labeled glass jars or airtight containers.
Quick Tip: Remove bulky packaging; it saves space and makes things neater.
Step 5: Use the Cabinet Doors
Don’t waste that valuable door space!
Add:
- Adhesive hooks for dish brushes or gloves
- Small caddies or racks for sponges and spray bottles
- Over-the-door organizers for extra cleaning supplies
These help keep your most-used tools within easy reach.
Step 6: Maintain Your Organization
Once your under-sink area is organized, maintaining it is simple.
- Take 2–3 minutes each week to put items back where they belong.
- Wipe up spills or leaks right away.
- Reassess your setup every few months to see if your needs have changed.
Pro Tip: Keep a small trash can or recycling bin nearby; it helps prevent clutter from building up again. If you’re working with limited space, consider using slim bins or hanging bags that can easily fit behind a door or on a cabinet wall. This way, even small kitchens can stay organized without taking up too much space.
Common Mistakes When Organizing Under the Sink
- Keeping too many cleaning products you don’t use
- Ignoring leaks or dampness
- Forgetting to label bins
- Overfilling containers — which makes them harder to access
Quick Tip: Always check for moisture before placing new bins or liners; it prevents mold and odor buildup.
How to clean under the sink?
- Clean under the sink after you have everything emptied.
- Check if any cleaners are old, broken, or shouldn’t be stored there, and discard them!
- Use an all-purpose cleaner & a rag to clean up any crumbs, spills &, etc.
- Trash any cleaners or supplies that are no longer needed.


Recommended Organizing Tools
Take Inventory of what you have so you know How to Organize Under a kitchen sink.
Once everything is pulled out from under the sink, this will be the best opportunity to see what you have, so you don’t go to the store to purchase duplicates of supplies.
Work Around Obstructions
Use bins for organizing; be mindful of under-the-sink plumbing, filter, or garbage disposal.
Remove extra packaging
Have a box of brillo pads? Use a glass container to store the brillo pads for each reach.
Take advantage of the cabinet door space.
Add hooks to the cabinet doors to hold cleaning brushes & such. The hooks with heavy-duty sticky backing and clear command strip caddy work perfectly.

Frequently Asked Questions
Place an open box of baking soda or a small container of activated charcoal under the sink. Both absorb odors naturally within 24–48 hours.
No, it’s best to avoid storing anything that comes into contact with food. The moisture and bacteria around the pipes can contaminate dishes or cookware. Additionally, always keep cleaning products and hazardous materials out of reach of children and pets to ensure their safety. Consider using child locks on cabinet doors or storing these items on higher shelves if children or pets are present.
Measure the width, height, and depth of your cabinet before shopping. Look for stackable bins or adjustable organizers to make the most of tight spaces.
Maintenance Tip: Keep Your Under-Sink Space Organized
To keep your under-sink area neat in the long term, take a few minutes each week to tidy it up. Wipe up spills, put supplies back where they belong, and check for leaks or dampness.
Pro Tip: Schedule a quick 10-minute refresh every month — it’s the easiest way to prevent clutter and odors from returning.
More Posts You’ll Fancy!

Final Thoughts
Organizing under your kitchen sink may seem like a small project, but it makes a big impact on your daily routine. With a few thoughtful storage solutions, you’ll be able to find what you need instantly and keep your kitchen feeling fresh, functional, and clutter-free.
As you implement these changes, consider sharing your progress and before-and-after stories. Your experiences and tips can inspire others and help foster a community of shared motivation and ideas.

Homemaking Made Easy: 5 Days to a Cozy & Organized Home
This FREE course is for anyone who wants to create a warm, welcoming space, without the overwhelm. Whether you’re just starting out or need a reset, this 5-day journey will walk you through simple steps to make your home feel more peaceful, functional, and you.
It includes:
- Daily Email Lessons
- Printable Freebies
- Easy-to-Follow Tasks
By the end of the 5 days, you’ll feel more at peace, in control, and inspired in your home.