This post contains affiliate links to products I love ♥ See my full disclaimer here!
Simple Water-bath canning for beginners is the easiest method for preserving high-acid foods like jams & relishes that is also perfect for beginners.
Water bath Canning can be intimidating and from what I have learned from preserving, I tell you that it is not as hard as you think. I only started water bath canning a couple of months ago, and I can’t believe I didn’t start years ago.

Canning is a lower-temperature process; water bath canning is excellent for high-acid foods and recipes. For which, the combination of time and temperature destroys mold, yeast, and enzymes that cause spoilage while creating a vacuum seal. This process for recipes that are frequent includes:
- Jams and jellies
- Pie Fillings
- Pickles and relishes
- Salsas
- Tomatoes
- Pickles and relishes
- Pie Fillings
What supplies are a must-have water bath canning?
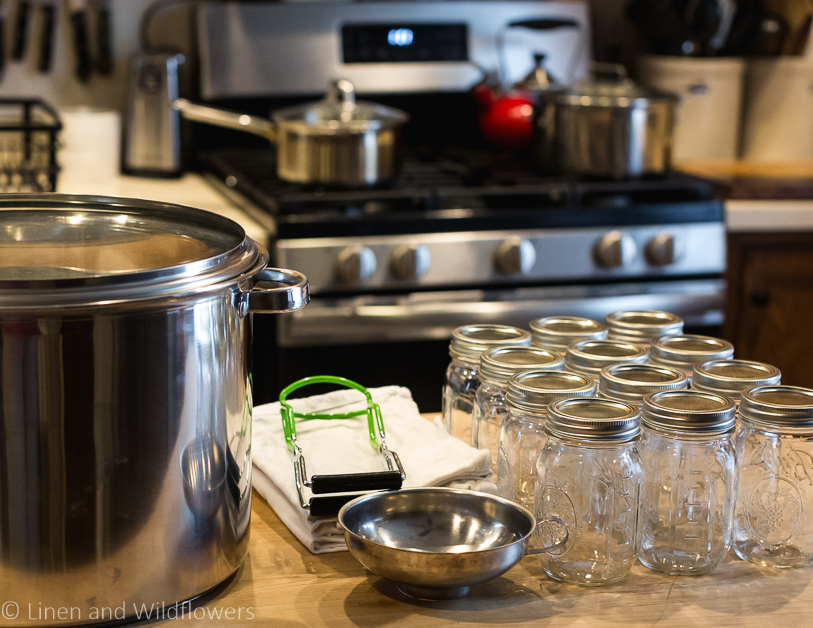
First, you need to make sure you have the correct supplies & have them ready bore you start the canning process.
Water Bather Canner
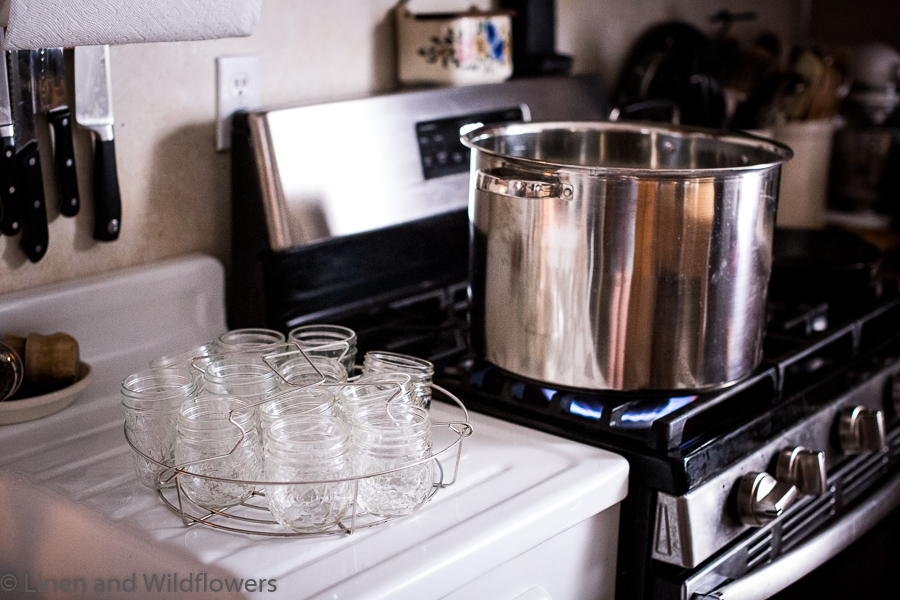
A water bath canner is a must. Make sure it includes a rack to hold your canned jars. The rack will keep the jars in place & from rattling around. However, if you do not have a canner, you can also use a regular stockpot as long as you have a rack for your jars.

Tea Towels
You can use any clean hand towels, but I prefer tea towels. You will need the towels to clean the rims of the jars before sealing them. Any food left on the rim wall causes the jar not to seal correctly. In addition, You will also want to place your hot jars on a towel. Placing hot jars directly on a cold counter could cause the jars to break.
Mason Jars
Depending on what you are canning & how much you are preparing all depends on how many jars you will need for preserving.
Example: When I am preparing & canning strawberry jam, I am using three pounds of strawberries; I will need six 12oz jars.
Jar Lifter
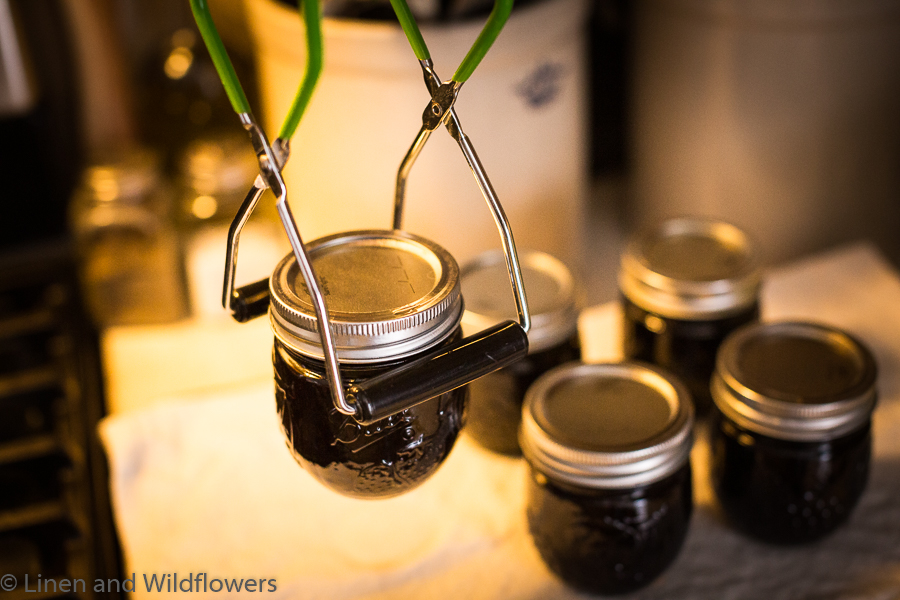
Jar lifter makes it easy to lift your jars out of the hot water bath.
Ladle
You will need a ladle to pour your food into the jar.
Funnel
Using a funnel to ladle or spoon your liquid will make it so much easier and without all the mess.
Small Wooden Stick or Rubber Spatula
Once you have filled the jars, you will also need to use a wooden or plastic stick to release any air bubbles in your jars. Do not use metal as it can cause the jars to break.

Seals & Bands
As a precaution, you should not use seals that have already been used for sealing. Bands over & over as long they are not rusted or bent. If you have purchased new mason jars, they come with new seals & bands.
Preparing your jars for simple water bath canning
Fill your canner with enough water to cover your jars, about an inch over your jars. Once a rolling boil has been achieved, turn down to medium heat continue to boil for ten minutes. This process will sterilize your jars.
Wash seals & bands in hot, soapy water and dry well. Set aside.
Water bath Canning your jam
Once you have sterilized your jars, carefully use the lifter to lift your hot jar out of the canner & place them on a clean towel one at a time & using a ladle to fill your jar with liquid using a jar funnel. Be sure to leave enough headspace in your jar that is recommended for your recipe for a successful sealing process. Next, use a rubber spatula or wooden chopstick & carefully go around inside the jar to release any air bubbles. I repeat this process two or three times.
Be sure to clean off a food residue of the rim and threads of the jar using a clean towel. Center lid on the jar, allowing the sealing compound to contact the jar rim. Apply band and adjust until fit is fingertip tight.
Now that your jars have been filled & sealed, place the jars in the canner.
Water needs to cover the jars by 1-2 inches. Place lid on water bath canner and bring water to a rolling boil. Begin processing time that is indicated on your recipe.
The jars should stay in the canner for five minutes to be acclimated to the outside temperature when the process has ended.
Move jars from the canner using the lifter and set them upright on a towel. Leave jars undisturbed for 12 to 24 hours. Do not retightened bands as this may interfere with the sealing process.
Now that your jars have been undisturbed for 12 to 24 hours, be sure to inspect the lids for proper sealing. There should be no flex on the seal when you press the center as well. Next, remove the bands and attempt to lift lids off with your fingertips. Properly sealed lids will remain attached. If the seal fails to seal correctly within 24 hours, immediately refrigerate the product.
Label and store your jars in a cool, dry, dark place for to up to 12-18 months.

TIP: After many years of research on the Ball website, it has been determined that preheating Ball®, and Kerr® lids is no longer necessary. The sealing compound used for our home canning lids also performs equally well at room temperature as it does preheat in simmering water (180°F)—Wash lids in hot, soapy water, dry, and set aside until needed. However, If you still choose to preheat your lids, do not boil.
Disclaimer: I am not an expert in water bath canning or canning for food preservation, nor do I claim to be as well. I am sharing my experience from what I have researched & learned about simple water bath canning.
Click here for more resources on canning.
Until next time my friend,
 If you want to follow along on our home restoration/renovation plans and all of our exciting antique & thrift finds, be sure to check out Linen and Wildflowers on Facebook, Instagram, and Pinterest! And don’t forget to sign up for our newsletter to receive updates.

[…] You can absolutely can this Applesauce for long-term storage using a water canning bath. When canning, be sure to follow proper canning protocol to prevent accidental […]