Easy Crockpot Applesauce (With Canning Instructions)
This easy crockpot applesauce recipe keeps the apple skins on for extra nutrition, gorgeous color, and minimal prep, no peeling required!
With this Easy Crockpot Applesauce, it’s a cozy, naturally sweet way to enjoy apples anytime. Perfect for beginners or experienced cooks, this versatile recipe can be enjoyed fresh, refrigerated, frozen, or canned, thanks to a simple guide that helps you preserve your homemade applesauce throughout the year.
Are you looking for easy dinners? Try my recipe, Lemon Garlic Chicken Penne Pasta Recipe, or this recipe for How to make Stuffed Acorn Squash
Last week, my sister and I went apple picking at Weaver Orchards in Morgantown, PA., something I had never done before, and it was so much fun! We laughed our way through the rows, picking different kinds of apples and filling our bags to the brim.
What made it even more special was creating memories together that I’ll cherish forever. With all those fresh apples, I couldn’t wait to make crockpot applesauce, while my sister plans to turn her share into apple pies and apple crisp!
As an Amazon Associate, I earn from qualifying purchases, and this post contains affiliate links to products I love ♥ See my full disclaimer here!

- This easy crockpot applesauce recipe keeps the apple skins on for extra nutrition, gorgeous color, and minimal prep, no peeling required!
- What you'll love about this recipe:
- Recipe Ingredients
- Ingredient Notes
- How to Make Crockpot Applesauce Step-by-Step
- Vinegar Bath Method for Cleaning Apples
- Recipe Tips & Tricks
- How to Can Homemade Applesauce (Water Bath Method)
- Canning Step-by-Step Instructions:
- Pro Canning Tips
- Pro Tips for Perfectly Canned Applesauce
- Make-Ahead Tip
- Prep your apples the day before to save time! Wash, core, and chop them, then toss with a little lemon juice to prevent browning. Store them in an airtight container or zip-top bag in the refrigerator overnight. In the morning, just add them to your crockpot and start cooking — perfect for busy days or weekend meal prep!
- Storage Recommendations
- Additions & Substitutions
- Frequently Asked Questions (FAQ)
- More Recipes You'll Love
- Easy Crockpot Applesauce
- Storage Recommendations for Homemade Applesauce
- Pro Tips:
- Looking for Delicious breakfast recipes?
- Looking for Delicious breakfast recipes?
What you’ll love about this recipe:
Recipe Ingredients
You’ll need the following ingredients to make this crockpot applesauce:

Ingredient Notes
Using fresh apples from a local orchard or farmers’ market makes the best-tasting applesauce. They’re picked at their peak for flavor, often at a more affordable price in bulk, and support local growers. Even slightly bruised or “seconds” apples are perfect for applesauce since they’ll be cooked down anyway!
How to Make Crockpot Applesauce Step-by-Step
Here are quick, step-by-step visual instructions for making crockpot applesauce. The full instructions will be in the printable recipe card below. Making homemade applesauce in a crockpot is incredibly easy, delicious, and naturally rich in flavor and nutrients. Here’s how to do it:
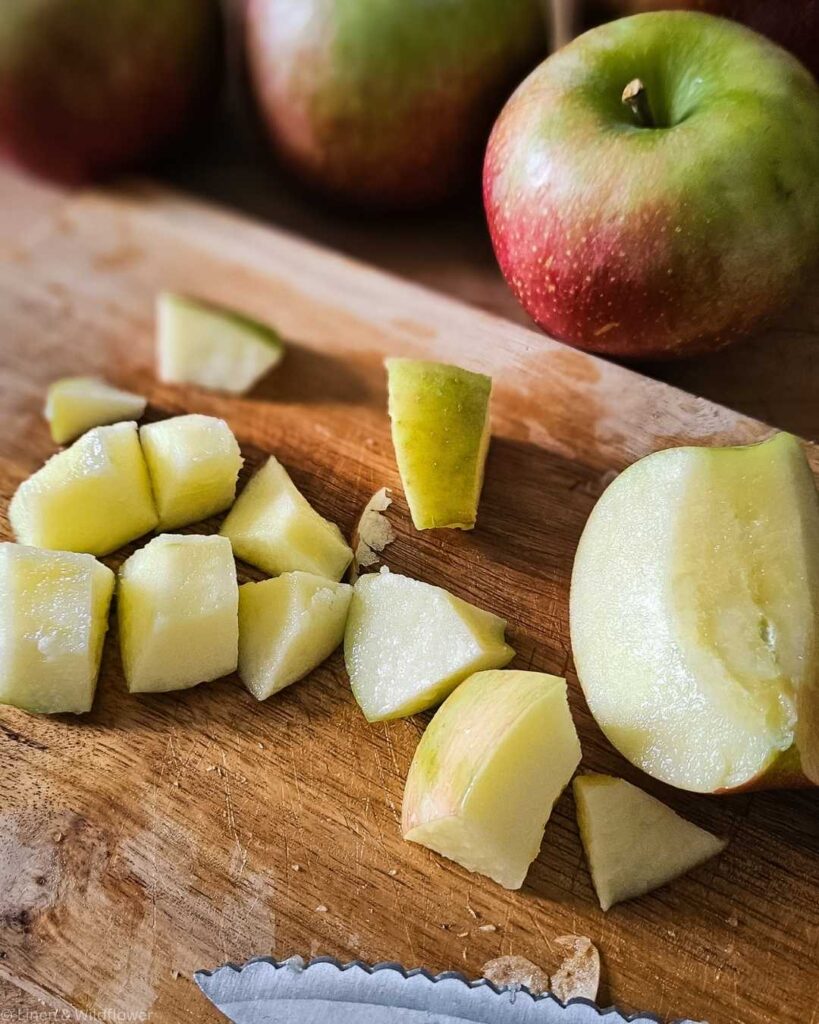
- Wash, dice and core the Apples
- Add all ingredients to the crockpot and stir

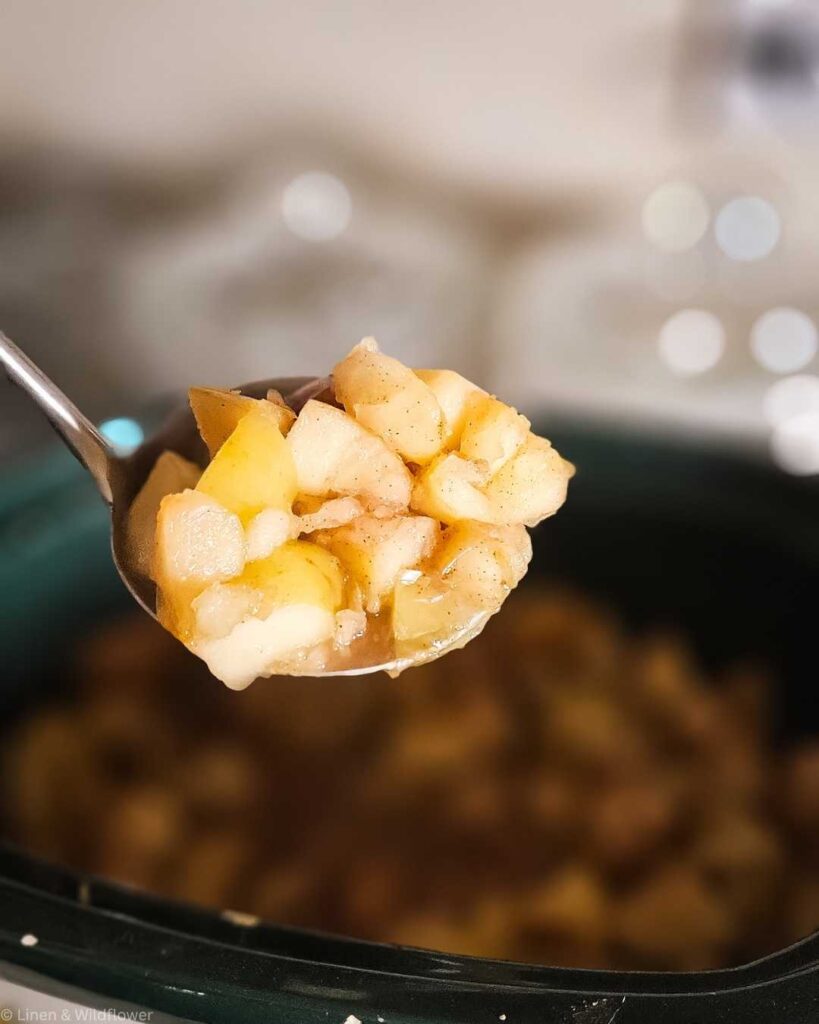
- Cover and cook on high for 4 hours
- Mash or Blend with an immersion blender

- Ladle into jars
- Cool and Store
Note: Canning Instructions are below.


Vinegar Bath Method for Cleaning Apples
When using a vinegar bath to clean apples, the typical method is:
- Mix: 1-part white vinegar to 3 parts water in a large bowl or sink.
- Soak: Submerge the apples for 5–10 minutes. This helps remove bacteria, pesticides, and wax.
- Rinse: After soaking, rinse thoroughly under cold water to remove any vinegar taste.
- Cut: Remove Cores and cut apples into chunks or roughly chop them (no need to peel) for your crockpot.
Note: Soaking longer isn’t usually necessary and could slightly affect the apple’s taste.
Recipe Tips & Tricks
- If you prefer a thicker applesauce, leave the lid slightly ajar during the last 30–45 minutes to let steam escape.
- The red-skinned apples will give your sauce a beautiful pink hue!
- Label jars or containers with the date made.
- Avoid using metal lids or containers for freezing, as the applesauce can react with metal.
How to Can Homemade Applesauce (Water Bath Method)
Here’s a simple, step-by-step guide to canning your homemade applesauce — perfect for beginners. It’s safe, easy, and gives you delicious jars of applesauce to enjoy all year long!
What You’ll Need
- Freshly made hot applesauce (from your crockpot recipe)
- Clean mason jars (pint or quart size)
- New lids and rings
- Large pot or water bath canner
- Jar lifter
- Ladle and funnel
Canning Step-by-Step Instructions:
Prepare Your Jars & Lids
- Wash your jars, lids, and rings in hot, soapy water. Rinse well and check jars for cracks or chips before using.
- Place clean jars upright in a large pot or canner filled with hot (but not boiling) water to keep them warm until you’re ready to fill them. Keep jars fully submerged with water covering them.
- Keep lids in a separate small pot of hot (not boiling) water until needed. Do not boil lids; just keep them hot to help ensure a good seal.
Reheat the Applesauce
- Make sure your applesauce is hot before filling the jars.
- If it has cooled, heat it on the stove until it’s steaming but not boiling.
Fill the Jars
- Working quickly, use a funnel to ladle hot applesauce into the warm jars, filling each one evenly.
- Leave ½ inch of headspace at the top (room for expansion).
- Run a clean knife or spatula around the inside of the jar to remove any air bubbles that may have formed.
- Wipe the rims clean with a damp cloth.
- Seal the Jars
- Place the lids on top and screw the rings on until they are fingertip-tight (snug but not overly tight).
Process in Water Bath
- Place filled jars into your boiling water canner (make sure water covers jars by at least 1 inch).
- Once the water returns to a full boil, process for:
- 20 minutes for pints/25 minutes for quarts
- (Adjust for altitude if over 1,000 ft — add 5 minutes per additional 1,000 ft.)
Cool & Store
- After the processing time, use a jar lifter to carefully remove each jar from the canner and place it on a towel to cool. Do not tilt the jars.
- Let the jars cool undisturbed for 12 to 24 hours. Avoid pressing the lids or moving the jars during this time.
- Once cooled, check seals — lids should be flat and not flex when pressed.
- Store in a cool, dark place. Properly sealed jars last up to 1 year.
Pro Canning Tips
- Always use bottled lemon juice for consistent acidity when canning applesauce.
- If you want chunky applesauce, mash the apples lightly before filling the jars.
- Don’t reuse canning lids — only the jars and rings.
- If a jar doesn’t seal, refrigerate it and use it within a week.
Pro Tips for Perfectly Canned Applesauce
- Use a mix of sweet and tart apples, such as Fuji, Gala, and Granny Smith, for the best flavor balance.
- Keep the applesauce hot when filling jars — this helps prevent siphoning (when sauce seeps out during processing).
- Add cinnamon or vanilla for extra flavor — just avoid thickeners or dairy.
- Always use new lids and ensure they are fingertip-tight (not too tight) before canning.
- Listen for the “pop!” — that’s your jar sealing perfectly.
Make-Ahead Tip
Prep your apples the day before to save time! Wash, core, and chop them, then toss with a little lemon juice to prevent browning. Store them in an airtight container or zip-top bag in the refrigerator overnight. In the morning, just add them to your crockpot and start cooking — perfect for busy days or weekend meal prep!
Storage Recommendations
Refrigerator (Fresh Applesauce): Store in an airtight container for up to 7–10 days. Keep it chilled at all times; stir before serving if it separates slightly.
Freezer: Use freezer-safe containers or zip-top freezer bags. Leave ½ inch of headspace in a jar to allow for expansion. Freeze for up to 6 months. Thaw in the refrigerator overnight before using; stir well.
Canning (Water Bath) Properly processed jars stored in a cool, dark place can last up to 1 year. For best flavor and color, use within 8–10 months. Once opened, refrigerate and consume within 7–10 days.
Additions & Substitutions
Additions
Add 1: For extra depth, toss in a dash of nutmeg or vanilla extract at the end.
Add 2: Add more cinnamon, sweetener, or a splash of lemon juice.
Substitutions
Sub 1: Replace water with Apple Juice
Sub 2: Replace Maple Syrup with Brown Sugar
Frequently Asked Questions (FAQ)
Yes! Lemon juice ensures that your applesauce is safe for canning by maintaining a high enough acidity level. Use 1 tablespoon of bottled lemon juice per pint or 2 tablespoons per quart of applesauce.
Once jars have cooled for 12–24 hours, press the center of each lid — it should be flat and firm. If a lid pops or moves up and down, it didn’t seal. Just refrigerate that jar and enjoy within a week.
When stored in a cool, dark place, properly sealed jars last up to 1 year. For the best flavor and color, use within 8–10 months.
A mix of sweet and tart apples gives the best flavor. Try Honeycrisp, Fuji, Gala, and Granny Smith together for a nice balance.
Absolutely. Just omit the maple, and add 2 tablespoons of brown sugar.
Yes — if you follow proper water bath canning procedures. Just be sure the recipe’s acidity is maintained (lemon juice helps with that).
Looking for Delicious breakfast recipes?
Grab your 5 breakfast recipes now!


More Recipes You’ll Love


I hope you love the crockpot applesauce. If you make it, please be sure to leave a comment and a rating, so I know how you like it. Enjoy, Xo

Easy Crockpot Applesauce
Equipment
- Crockpot
- 2 Mason Jars pint size
- Food processor, blender. or an immersion blender (optional for smooth texture)
- Wooden spoon
- Measuring Spoons
Ingredients
- 3-4 lbs Apples about 8–10 medium; a mix of Honeycrisp, Fuji,Gala, and Granny Smith works best
- ½ cup water
- 2 tbsp Lemon Juice to brighten flavor and prevent browning
- 2 tbsp Maple Syrup
- 1 tsp Cinnamon optional, or more to taste
- Pinch Himalayan Salt Regular table salt is fine
Instructions
- Wash apples thoroughly, dice/slice & core.
- Place the apples, water, lemon juice, maple syrup, cinnamon, and salt into your slow cooker. Stir to combine.
- Cover and cook on LOW for 6–8 hours or HIGH for 4 hours, until the apples are very soft and the skins are tender.
- Mash & blend applesauce. For chunky applesauce, use a potato masher. For smooth applesauce, use an immersion blender or transfer the mixture to a regular blender (be careful—it’s hot!). The skins will blend right in, adding beautiful color and extra fiber.
- Taste & Adjust: Add more cinnamon, sweetener, or a splash of lemon juice if needed.
- Cool and Store in jars.
Notes
Storage Recommendations for Homemade Applesauce
Refrigerator (Fresh Applesauce): Store in an airtight container for up to 7–10 days. Keep it chilled at all times; stir before serving if it separates slightly. Freezer: Use freezer-safe containers or zip-top freezer bags. Leave ½ inch of headspace in a jar to allow for expansion. Freeze for up to 6 months. Thaw in the refrigerator overnight before using; stir well. Canning (Water Bath) Properly processed jars stored in a cool, dark place can last up to 1 year. For best flavor and color, use within 8–10 months. Once opened, refrigerate and consume within 7–10 days. *Note: See the blog post on step-by-step instructions on water bath canning.Pro Tips:
- If you prefer a thicker applesauce, leave the lid slightly ajar during the last 30–45 minutes to let steam escape.
- For extra depth, toss in a dash of nutmeg or vanilla extract at the end. The red-skinned apples will give your sauce a beautiful pink hue!
Nutrition
Nutrition is only an estimate based on the Very Well Fit Nutrition Calculator.
With this Easy Crockpot Applesauce, you can enjoy the comforting taste of fresh, naturally sweet apples anytime.
Whether you eat it right away, refrigerate it for a week, freeze it for later, or can it for long-term storage, this easy crockpot applesauce recipe makes it simple to savor homemade goodness year-round.
There’s nothing quite like opening a jar of your own applesauce and knowing it’s made with love and the perfect blend of apples — skins on, flavor intact, and ready to enjoy.
Looking for Delicious breakfast recipes?
Grab your 5 breakfast recipes now!
Wonderful recipe! I love the maple syrup instead of sugar.
Thank you! Yes, it’s definitely a better option in my opinion, and it taste so good!
Looks delicious and super easy to make!
Very easy to make & so yimmy!
So easy and full of flavor! This homemade applesauce turned out amazing — sweet, cozy, and perfectly smooth. I loved how simple it was to make in the crockpot — just add the apples and let it cook while your kitchen fills with the most delicious fall aroma. The texture was perfect, and the natural sweetness from the apples meant I didn’t even need extra sugar. It’s so much better than store-bought and makes the perfect snack or side dish. I’ll definitely be making this every fall!
Such an easy and delicious fall recipe. Thank you!
Yes it is. You are very welcome!
Such a great recipe! Definitely making it again this week!
Thank you so much! I am so glad you like it!